 |
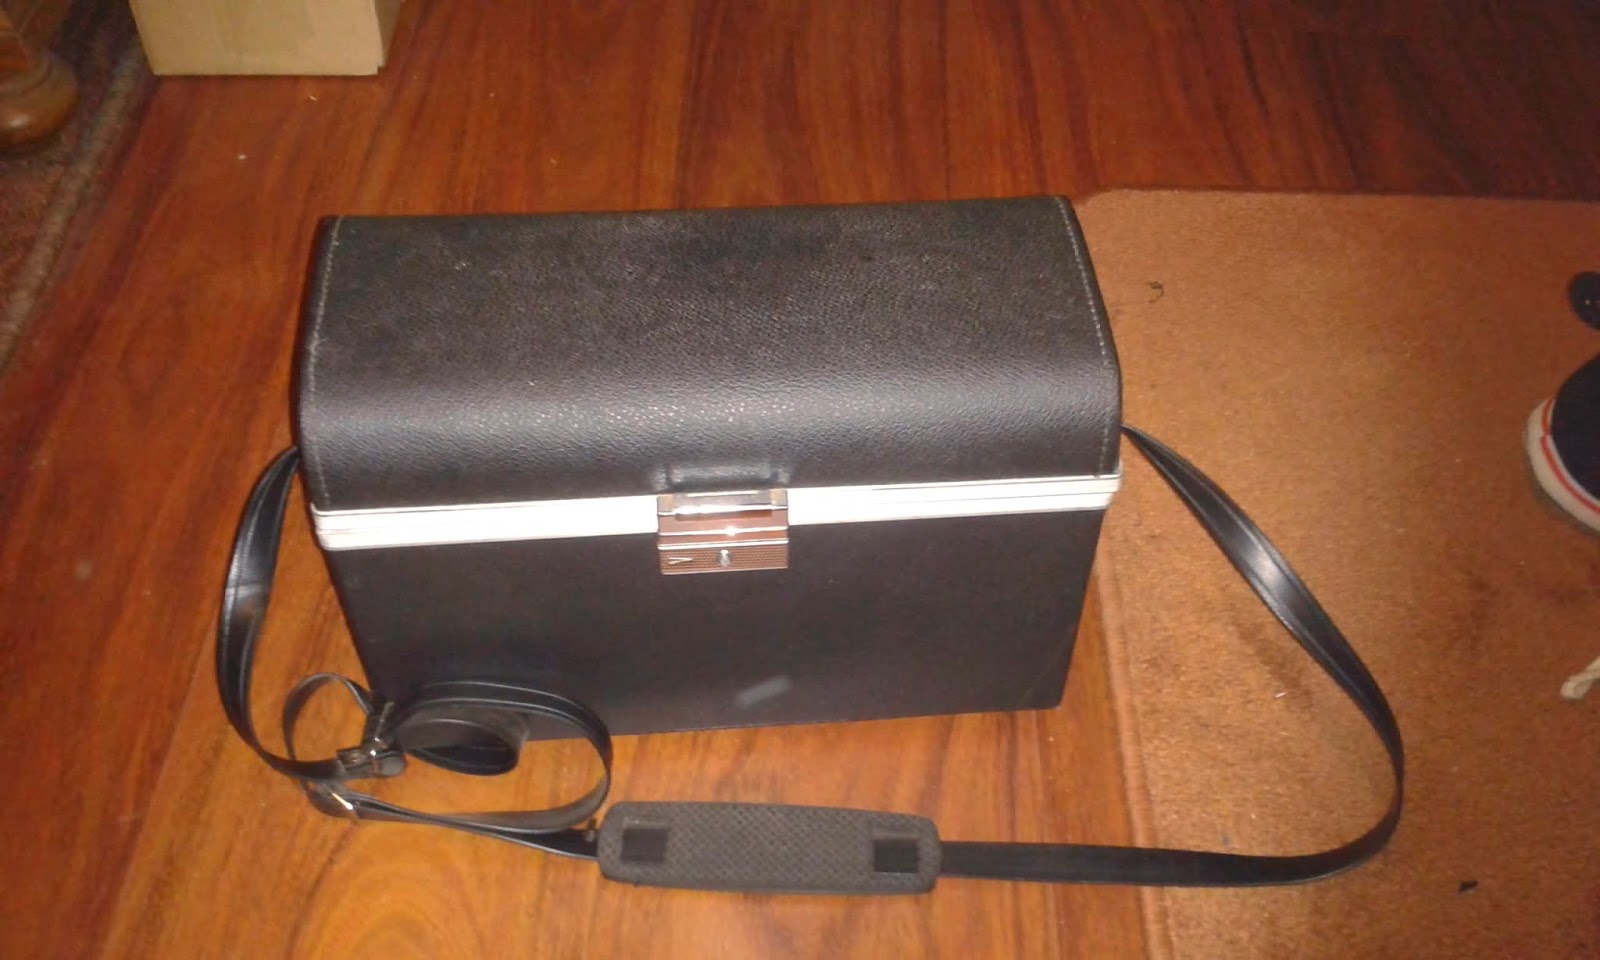
| Finished bag |
After some browsing at a 2nd hand site for small chests and camera bags, I was able to find an actual camera bag/ trunk (€10 + €6,75 forwarding charges) shaped just right and already patted with red velours to keep my camera safe.
 |
| How it all began. |
First step was to paint the whole thing brown, because that's one of the most used Steampunk colors.
 |
| Front side brown |
 |
| Right side brown |
Then it was time to add some detail. I'd like to have some corner pieces. For inspiration I went online to search to all kinds of Steampunk details and (Victorian) patterns.
In the end I created a basic shape. This I draw in Paint to get a template to sketch on.
 |
| Some sketches |
 |
| Some more sketches |
When I had a bunch of sketches I chose the best idea and created another template using Rhinoceros 3D to draw in and AutoCAD for scaling it to size and get it printed.
 |
| It was too big at first and it was too curly to be able to be cut from foam. At the right image the down part is simplified. |
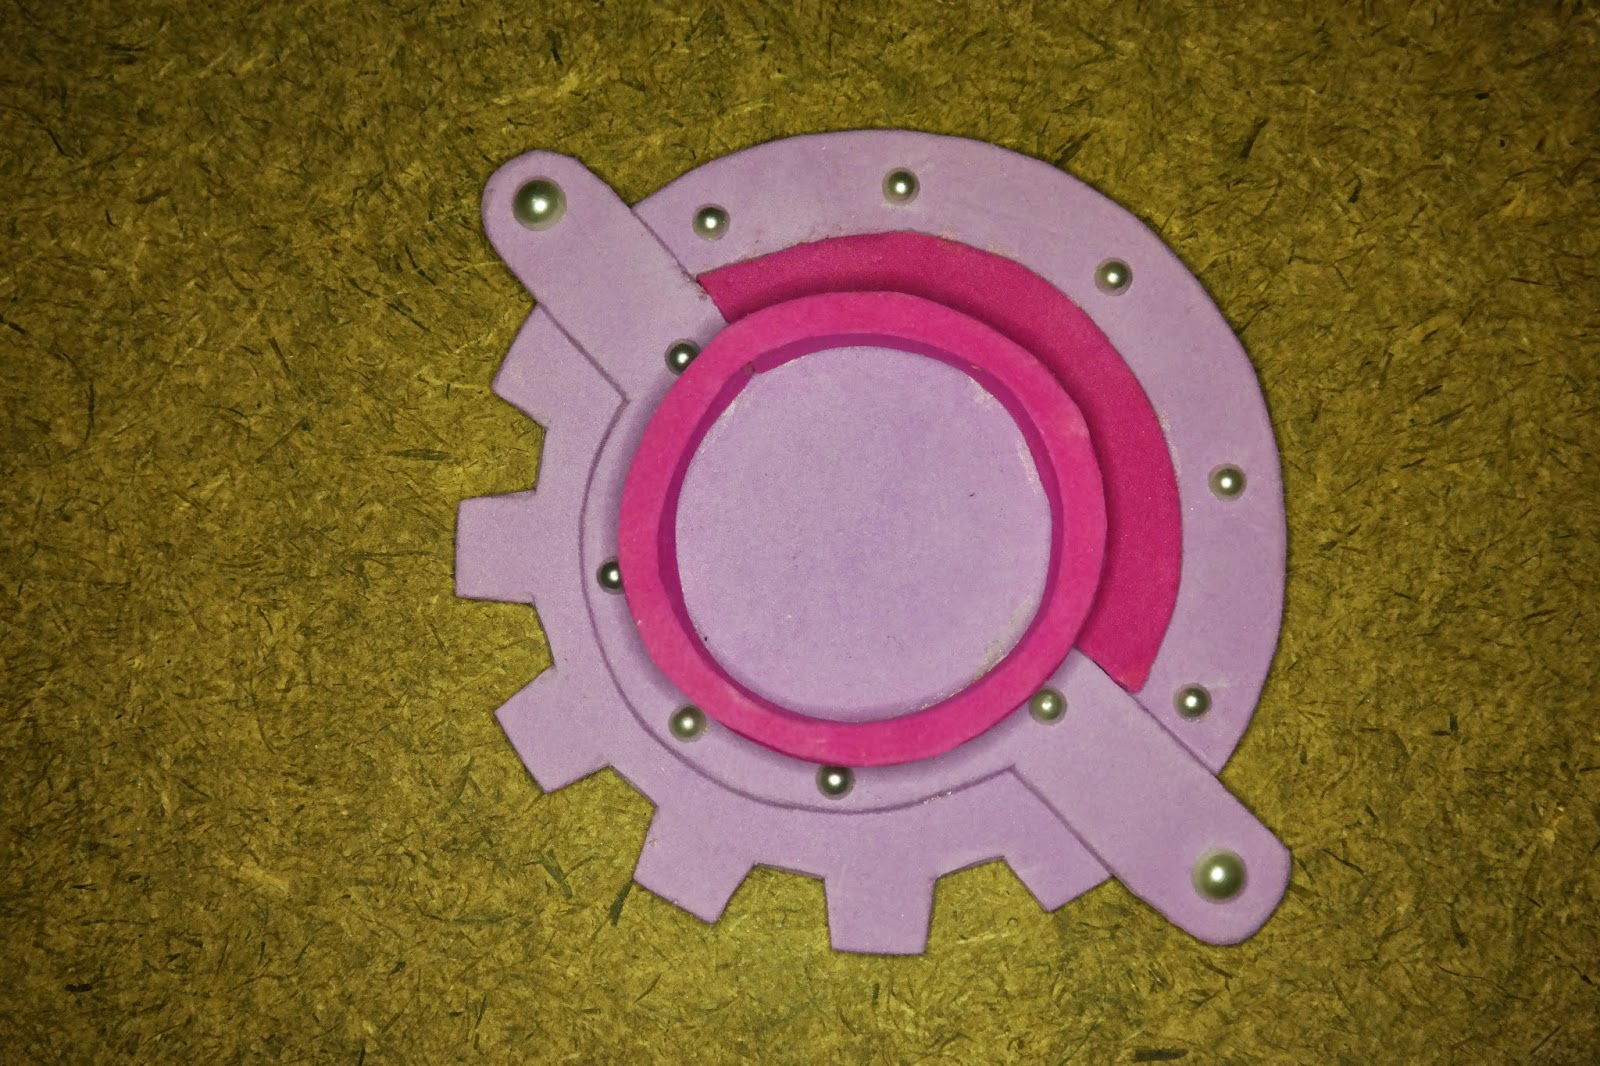
The pieces of the template were cut and transferred to crafts foam.
For the rivets I've used to adhesive pearls. |
| Pink foam. I added a 20 cent coin for size. |
When the gluing was done it was time to paint it black. If you like to save time you can use black foam. Normally it's cheaper to get a standard foam package, but it holds all kinds of color. If you only wish to use black you'll be paying 2x-3x as much for the same amount.
The downside of different colors is the wear. Due to rubbing the top layer of paint will fade and the pink will shine through. (Bring a black marker with you so you can recolor the edges when they rub off, this isn't that noticeable as the bright pink)
 |
| And now it's black. |
After the black it's time for some gold. I like the old look so I brush it on using the dry brush techniques I've mentioned in previous projects.
In the circles I glued in my cats. I've used their pictures and used Photoshop to give them a Steampunk look. Some self adhesive cabochons are attached to the pictures.
 |
| Too much light, but you get the point. Sad note: During this project the right cat has passed away. |
Now I had corner pieces, but that wasn't enough.
Because it's a camera bag I'd like to do something with a lens. I used Rhinoceros 3D to help me out with a 3D picture of my drawing (And making a template for the aperture.)
 |
| 3D idea. It was a bit flat though. Later on I added an extra rim. |
This was also converted to a template and cut out of foam.
 |
| Again with the pink. |
 |
| Finished top side. |
 |
| Side view, with the extra rims in contrast to the 3D model. |
 |
| Finished part. |
Next to these I also added a name plate (Willow Redwood, 1886) and a small plate underneath the lens. (Photomachina Systematis Type NX300). The sides were also a bit empty so I made some sort of grid using a punching tool.
I also made a (fake) grip on the top. It's also made from foam. Because it's glued on, you can't pull the trunk up with it. Decorative only.
And that's it, nice cool Steampunk styled camera bag.
 |
| End result. |