 |
| The finished result of the Steampunk recycle box. |
For this project I used MDF. The dimensions of the box are: 56,5 cm x 35 cm x 30 cm (lxdxh)
The gears were plotted on a piece of paper, which I glued on some 4mm MDF and then sawed out with the help of a fretsaw.
In retrospect you might use plywood instead; perspex, or something similar, would be even better. Because MDF isn't that sturdy.
 |
| All the gears I needed for this project. |
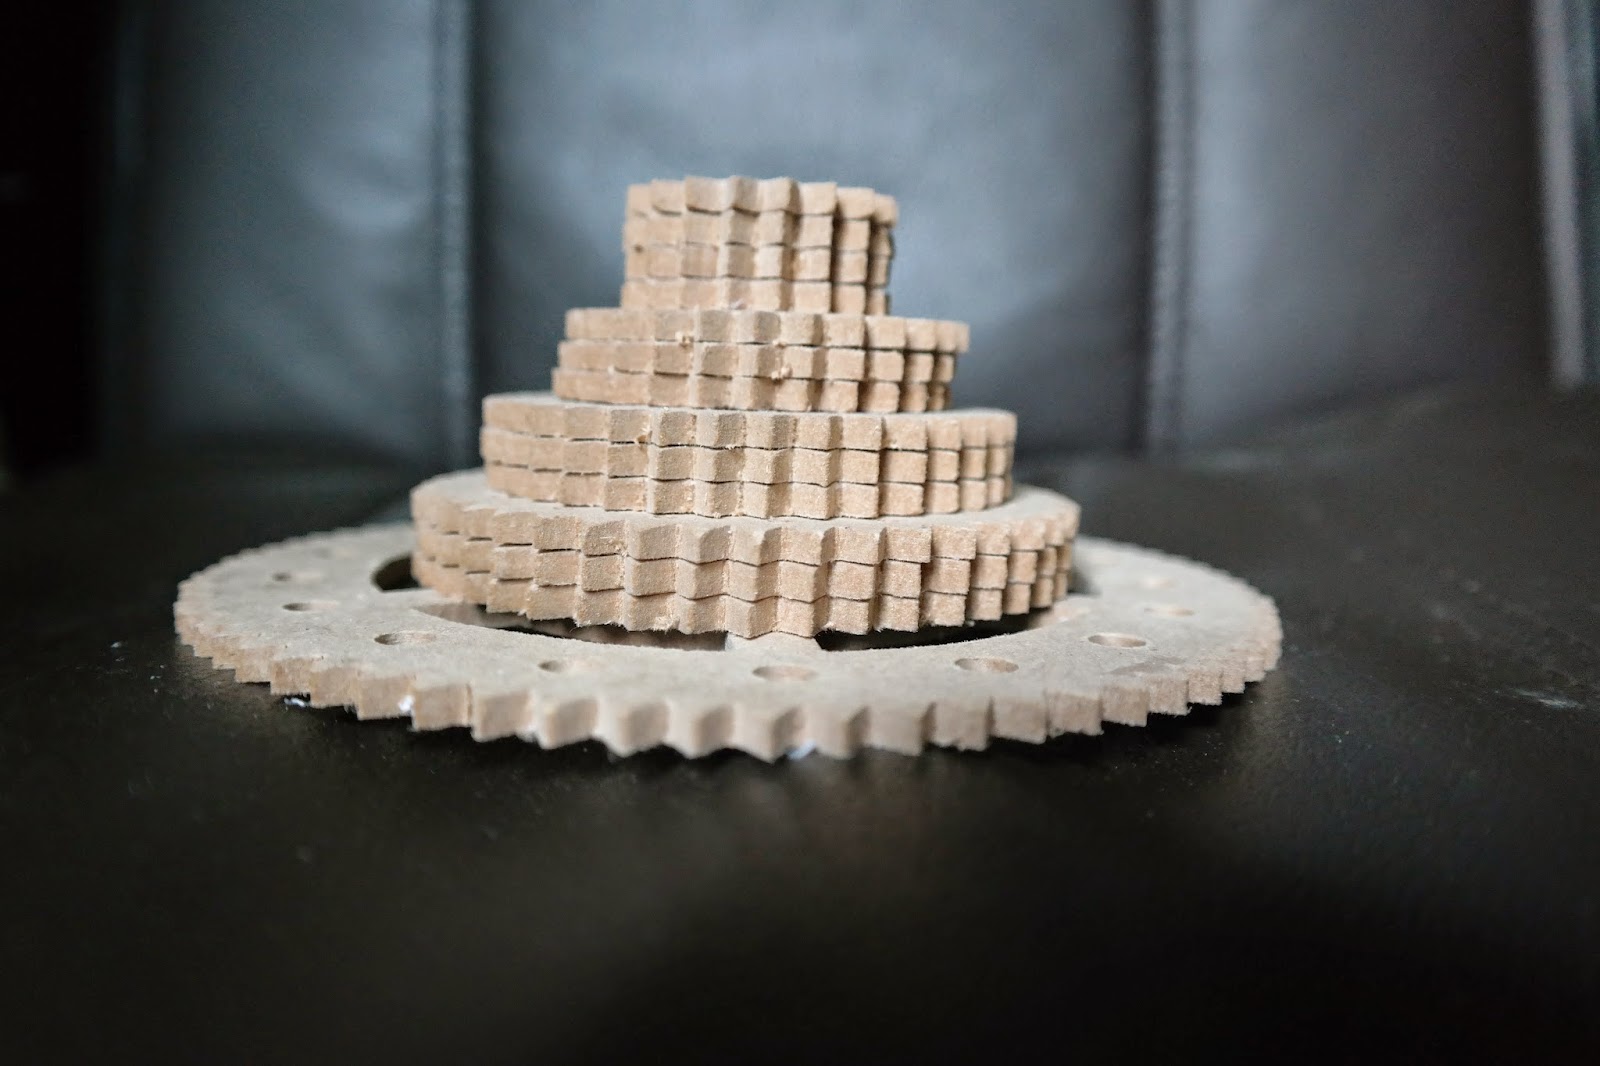 |
| All the gears stacked together. |
Next it was time to saw the frame. I plotted this on 2 pieces of paper and with some difficulty managed to saw it out. Because the arm of the fretsaw limits your sawing distance you need to be creative and turn the saw direction 90 degrees. With turns this is a bit tricky. You could also make this in multiple pieces if it's too big to work with.
 |
| The gears laid in order on the paper template. |
 |
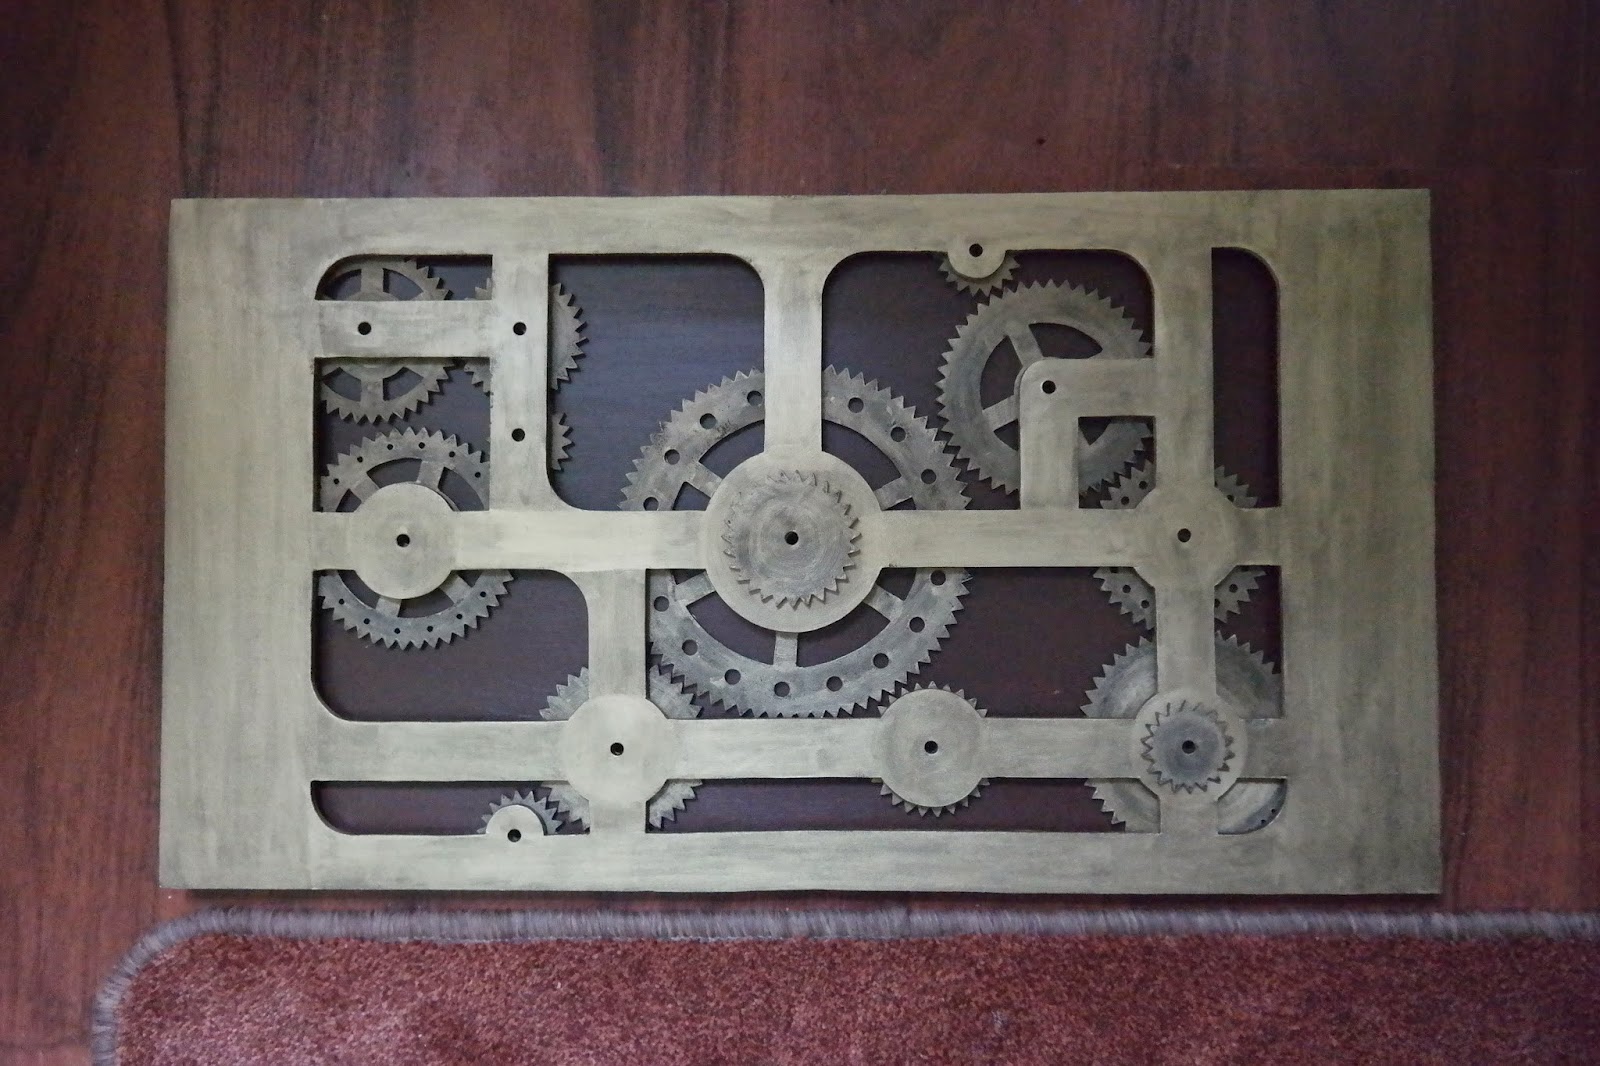
| What it would look like in the end. |
Next up is the paint job. I used a black acrylic base color for the gold pieces. Then I used acrylic gold and smeared it in lightly. I circled on the gears, while the paint was still wet, to make it look more worn.
 |
| All the gears painted black. |
 |
| The gears in place (note there is 1 missing), I wanted a worn look, that is why I didn't give the gold a 2nd or 3rd layer, because then the paint job would be smooth and have a "new" look. |
The brown was a mixture. I didn't have the chocolate color I used for the display I made a few years ago. I used an orange base for this, because the edges can be worn a bit using sandpaper.
The inside is done with a "caramel" color mixed at the DIY shop.
The inside is done with a "caramel" color mixed at the DIY shop.
And the plate on which I mounted the gears has a color called "Temperament", but is nothing more than a crimson/bordeaux like color.
Although it is not really visible on the picture. I dabbed some black paint at the plate along the edges of the frame. This leaves a bit of a worn shadow; places where it is most likely to not be cleaned in years.
Although it is not really visible on the picture. I dabbed some black paint at the plate along the edges of the frame. This leaves a bit of a worn shadow; places where it is most likely to not be cleaned in years.
 |
| Half way the project. I needed to add a lit, some decorative nails and paint the inside. |
The gears are attached with a wooden axis. In retrospect: Use iron rods.
I noticed the center wheel takes a lot of resistance. The wheels are able to turn, but not by turning the crank arm (?)
In the main plan I wanted to have a chain run from the center outer wheel to the one on the left, but because it was already unable to rotate the other parts, I skipped this.
I added some decorative nails and it is done.
 |
| The finished box. |
 |
| What it looks like on the inside. |
 |
| Front side. Despite it's not able to turn it still serves a nice decorative purpose. |
A few things I might do: The sides are a bit dull. I might add something to it.
And I'd like to make some fake Victorian hinges.
For those of you wanting to give this a try or wanting to make gears: These are my templates:


If you'd like very specific gears, I can recommend you this template maker:
https://woodgears.ca/gear_cutting/template.html


