Showing posts with label Fruitcorso. Show all posts

Sunday, September 25, 2016

FruitCorso: De Tijd Vliegt (Time Flies) (2016)

Another year, another FruitCorso.
This year we went a bit smaller than usual. The cart has the name "Time Flies", it's in celebration of the 50th anniversary of the club.
We did a literal interpretation of "Time Flies" by having a pocket watch carried by butterflies and swallows.

The cart during the FruitCorso Parade.
I was asked to help out with the design of the birds. I had to do a drawing of one in several positions with the wing width of 1,5 meter.
I made 3 flying designs; 1 flying, 1 braking and one with its wings half folded (that last one was skipped). Next to that I also designed a sitting one.

Top view of my sketch.

From this I made a metal design together with the welder. Me and the designer decided it was easiest to do the wings out of carton with a simple metal framing inside; this makes the wing look thinner and the separate feathers are easier made.

Metal frame with a Styrofoam head.
The metal frame with a cardboard wing glued to it.
During the metal work I was trying to make 11 swallow heads. Birds aren't easy so there's a bit of difference between them. (There's one that looks more like a pigeon)
At home I used clay to improve the faces of the birds.
In all honesty I was skeptical about the size of the birds; they were the same size as the butterflies, but looked even smaller since their wings have less surface. None the less, no discussion, they were approved by the designer. The sitting ones were allowed to become a bit bigger.

After the metal work I could attach the wings. This took a lot of work so I was lucky there were some folks to help me out.
When that was done the feet/legs could be welded and attached. It was a bit unclear if we had to wait until the chain was done (making them fit better), but we got a go to just give them feet.
Now the paper team could finally add paper to them, to which we could add plaster (takes the metal framing edges away and makes sure the neck runs smoothly to it's back/chest)

"Birds falling down the rooftops..."
The bird finished with plaster.

 After all the "paperwork" it was time to draw on them. I had miscalculated how much time would go into this. There were a lot...a lot of feathers! One of the designers stepped in and helped me out with this.
When everything was drawn and painted, people could finally start gluing on all the different kinds of seeds.

Painted bird.
The product design was also part of my "job", I made a 2:1 sketch to make it clear to other which and how the products were going to be glues on. (I made a copy which I colored and gave it a caption what it all meant). Unfortunately, time was our enemy, so we had to change the design and switch some products. All in all I'm quite happy how things turned out.
The sketch of the different types of seeds/fruits/vegetables that had to go on the bird.
Left = back, right = stomach. In the end we did some changes due to the time consuming design.


My bird, finished with the seed part.

The backside still needs a lot of work. Therefor it will go home with me.

It barely fitted in the car.
When everything was done, every seeds was glued on, every tomato was in place, every bird/ butterfly was welded where they needed to go it was finally time to go outside!

The cart during the FruitCorso Parade.

The end result of my bird.
 And here some Bonus pictures from the build.

How the clock looked during the 50th anniversary party.
Backside of the cart when it was finished and almost ready to go outside.


The framing of one of the butterflies


Pretty red butterfly.
Side of the watch.


This is my favorite bird! It's a really chubby one.

Sunday, April 3, 2016

FruitCorso "Time Flies"; Swallow Model (2016)

I wasn't allowed to post this sooner as the design was still a secret.
But this years' theme is "Time Flies"; it's a clock that is carried by swallows and butterflies.
I got the task to create the heads of  the birds, but I didn't have a really good reference so I build my own model.

Finished Swallow front view
To start a project as this it's important to have  bunch of reference material. In other words: Get yourself a lot of pictures of the subject, preferable from different angles.

Before I started I made some sort of frame. I glued several sticks and stirrers together (and later even more sticks as the bird became to heavy for the first support)
On this I mounted a piece of tinfoil wrapped a bit to the shape of the bird.

Abstract tin foil art.

On this sad looking "abstract art" I added clay, I gave it a face and some details as body feathers. I didn't add the wings/tail or legs, but I gave it little stumps where they should be.


Stumpy body

The wings are made from scraps of cardboard. On paper I made a drawing of one wing. This I copied a few times to be able to cut the separate feathers. (As they overlap, you can't cut them from just 1 copy).
For the second wing you flip the paper templates.
My wings consist of 4 parts: Inner-part, big feathers, smaller feathers, outer-part. The inner and outer part have so many small feathers, it's easier to create them with a layer of clay.
The clay will also smoothen the transition from the wings/ tail to the body.

Bird with the cardboard wings.

Iron wire feet.

For it's feet I used iron wire for a frame and wrapped it with some thread. The nails are done separately and glued them on when they were dry.
When all was done I painted everything with white primer (I didn't want it to be glossy).

I also made a new frame to support it.

Right side
Left side


Back side

 
Semi-front side

Thursday, October 15, 2015

FruitCorso: The Lights of Happiness (2015)

Just like last year and the years prior, I joined the FruitCorso again to build a new float decorated with seeds, fruits and vegetables.

The design this year was done by Ria van Blijderveen. The design was: "The Lights of Happiness"
The visual of this are 2 old asian/ chinese "ghosts" who send lanterns into the sky.
There was a whole message behind it about the chaotic and rushed times everybody experiences.

Model of the float, made by our designer Ria van Blijderveen
My main job this year was to focus on the faces. My "Partner in Styrofoam" did a pretty good job making a face for me to work on (creating the details). The other one I made myself.
I was also in charge of making the hands. I've tried to teach my knowledge to the designer, but she hated to work with Styrofoam, which left me no choice but to do it myself.

Next to that I was given a free hand to choose whatever I'd like to decorate the face.
At the market I found some Brasil nuts and pine nuts; these had the perfect color for the light faces. Even thought I've never worked with these before, I gave it a shot and turned out great.
I do need to note that these nuts will turn slightly darker in a few weeks and they are a bit more difficult to glue due to their oily surface. But with some patients it ended well.

Below you see the stages of the head I made and decorated:

Step 1: Styrofoam (with a layer of paper)
Step 2: Add plaster to smooth things out,
make the nose more Asian
I used clay for details (eye lids, lips)


Step 3: Paint
Step 4: Add seeds, nuts
Do the same on the other side


Finish it off with more seeds and some grass plumes (eyebrows/ beard)
Fun Fact: I've used about 18 different types of seeds/nuts on the face alone.

The other face has been done in those same steps. I instructed someone who's with the FruitCorso since last year (actually 2, but in the first year she never touched any seeds).
I think she did an amazing job.

But with some paint and a different perspective
 he resembles a friendly, slightly sad Smeagol.
Eveyone thought he looked a bit angry and pouty


In the end he lost his "Smeagolness" and looked like a friendly old man.


Bonus pictures of the build

A head isn't a head if it doesn't have ears. (Unless he was never born with them or lost them in an accident)
These I made using some cardboard, tin foil, hot glue and paper maché (newspaper + wallpaper glue)

Different steps of the process of ear making
Because it's hard to explain what your ideas are with words, I made a sketch to visualize my thoughts. I got a "go" from the designer. Also this sketch was helpful to explain things to the other builder.
Sketch of my thoughts of what I wanted to do with the eyes.
Next are some stages of the total build.

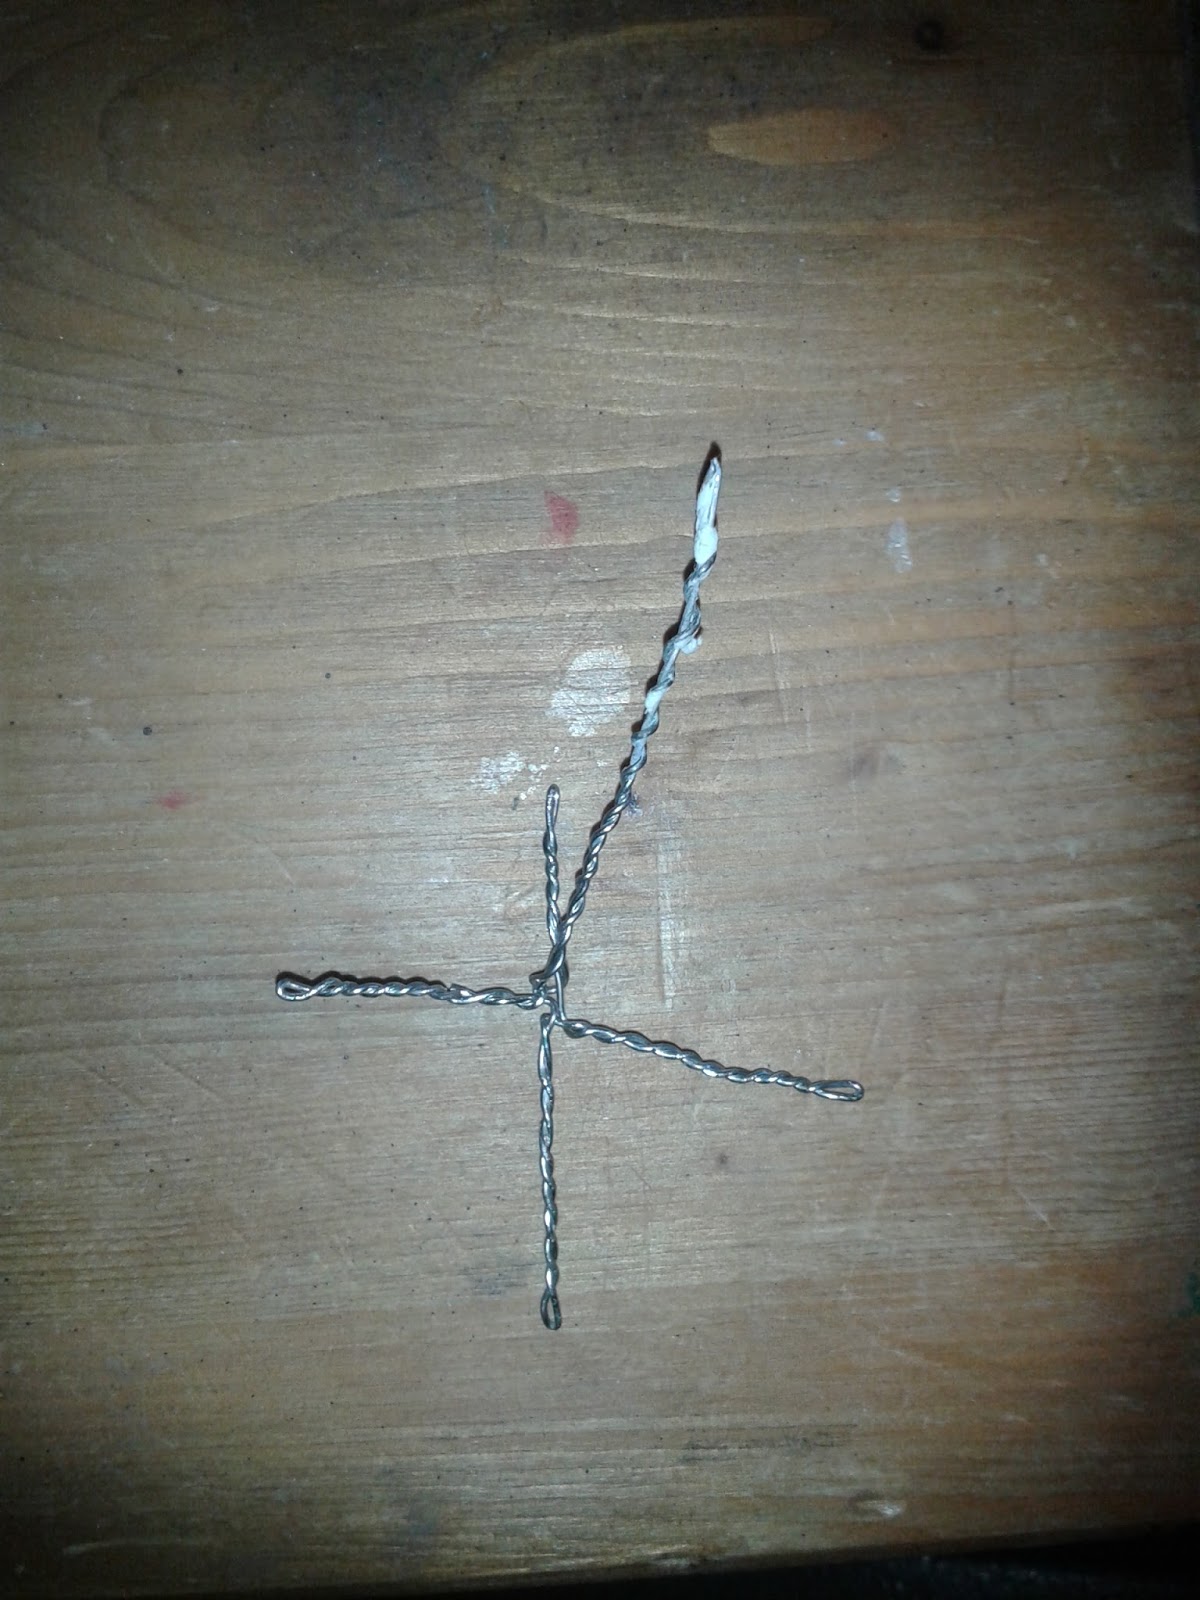
Metal skeleton of the total float. There were some changes and additions later on.


This part of lanterns was put on with a crane at the day of the parade.
It was a nerve wrecking moment!

The framework of the front "Ghostman"

The finished lanterns on the transportation cart

Side view of the front "Ghostman"
This is one of my hands.
Well, not mine, but one I've made


The end result!
If you're curious: We've got 5th place, which isn't really that bad. We're happy with the end result.

Sunday, February 1, 2015

FruitCorso: Haantjes Gedrag (Rooster Behaviour; 2014)

As every year I've been part of the FruitCorso builders team.
Fruitcorso is a yearly event where we go around town in a parade with floats decorated with seeds, vegetables and, obviously, fruits.

The design for this year was: Haantjes gedrag (Translated: Rooster Behavior. Open interpretation: Cock Fight)
Final result, 2nd place
This year has been slightly different than other years. Some massive changes occurred in the club I was part of for my whole FruitCorso career. The club were 2 clubs combined. Back in the days my club didn't have enough members and the club from our neighbor village didn't have a space to build anymore. So we fused together. This year that contract was shredded and the club was divided.

The Designer that had designed for 3 years had been asked else where. After much debate and this strange debacle she decided to go to her home town to design and build the float. Together with her we went with a team of the old club.

That aside the basics hadn't changed. You start with an iron frame, add syrofoam, paper, paint, glue and end with products.

Iron frame with Styrofoam head and comb; Rooster 1.

Iron frame partly covered with phone guide paper; Rooster 2
As for other years I was put responsible to make the heads with the Styrofoam team. They helped with the basic shapes and I could do the ending details. Also the designer assigned me with the head of Rooster nr. 1 to design, choose products and finish it.
Plastered face, with clay on the right side
Rooster 1
Plaster on Styrofoam,
covered with a layer of white paper
Rooster 2


Painted face
Finished face with dentures

The only directions I got was that he had to become angry. And that is what he became.
Because it's really difficult to do teeth, I made dentures from clay which I could decorate outside the mouth and later on glue them in.


To give him a bit more of a fighter look I gave him some scars using upstanding pumpkin seeds.

Most of my decorating time went into the face but here are some pictures of parts made by others:
Beginning with the vegetables; Rooster 1
More progress on Rooster 1


Detailed shot of the inside of the wing from Rooster 2

 We build in a shed/ hangar which means we're limited to the height of the door. Due to that we had to behead our rooster and use a crane to lift it and place it on the torso.
Assembling the roosters head
Flying head

Fitting it properly

 These were pictures of the test, it went back inside to finish it and it was put back together in Tiel before the parade would start.

End result Rooster 1
End result Rooster 2