Showing posts with label Carton. Show all posts

Sunday, April 3, 2016

FruitCorso "Time Flies"; Swallow Model (2016)

I wasn't allowed to post this sooner as the design was still a secret.
But this years' theme is "Time Flies"; it's a clock that is carried by swallows and butterflies.
I got the task to create the heads of  the birds, but I didn't have a really good reference so I build my own model.

Finished Swallow front view
To start a project as this it's important to have  bunch of reference material. In other words: Get yourself a lot of pictures of the subject, preferable from different angles.

Before I started I made some sort of frame. I glued several sticks and stirrers together (and later even more sticks as the bird became to heavy for the first support)
On this I mounted a piece of tinfoil wrapped a bit to the shape of the bird.

Abstract tin foil art.

On this sad looking "abstract art" I added clay, I gave it a face and some details as body feathers. I didn't add the wings/tail or legs, but I gave it little stumps where they should be.


Stumpy body

The wings are made from scraps of cardboard. On paper I made a drawing of one wing. This I copied a few times to be able to cut the separate feathers. (As they overlap, you can't cut them from just 1 copy).
For the second wing you flip the paper templates.
My wings consist of 4 parts: Inner-part, big feathers, smaller feathers, outer-part. The inner and outer part have so many small feathers, it's easier to create them with a layer of clay.
The clay will also smoothen the transition from the wings/ tail to the body.

Bird with the cardboard wings.

Iron wire feet.

For it's feet I used iron wire for a frame and wrapped it with some thread. The nails are done separately and glued them on when they were dry.
When all was done I painted everything with white primer (I didn't want it to be glossy).

I also made a new frame to support it.

Right side
Left side


Back side

 
Semi-front side

Tuesday, April 21, 2015

Steampunk Hat (2015)

For this years EFF theme I've chosen Steampunk. This is a fantasy sub-genre which takes place in the Victorian era were steamturbines, mechanics, gears, copper, leather and brass are the main components.

With such an outfit it is quite regular to wear a hat. Top hats aren't that cheap, but there's a cheap way to create one using crafts foam.


For this projects I used some help from "Lost Wax"on Youtube, who does some more handy tricks with crafts foam.

These are the 2 video's I watched to get an idea on how to make it.
-How to make a Top Hat, DIY Steampunk Fashion Pattern Tutorial
-How to make a Mini Top Hat! Mini Top Hat patter and Steampunk DIY Instructions

First measure up your head (Circumference), then try to figure out the depth/ width of your head. You can cut half an oval out of paper and put in on your head to see if it fits. If it doesn't fit, make it bigger.

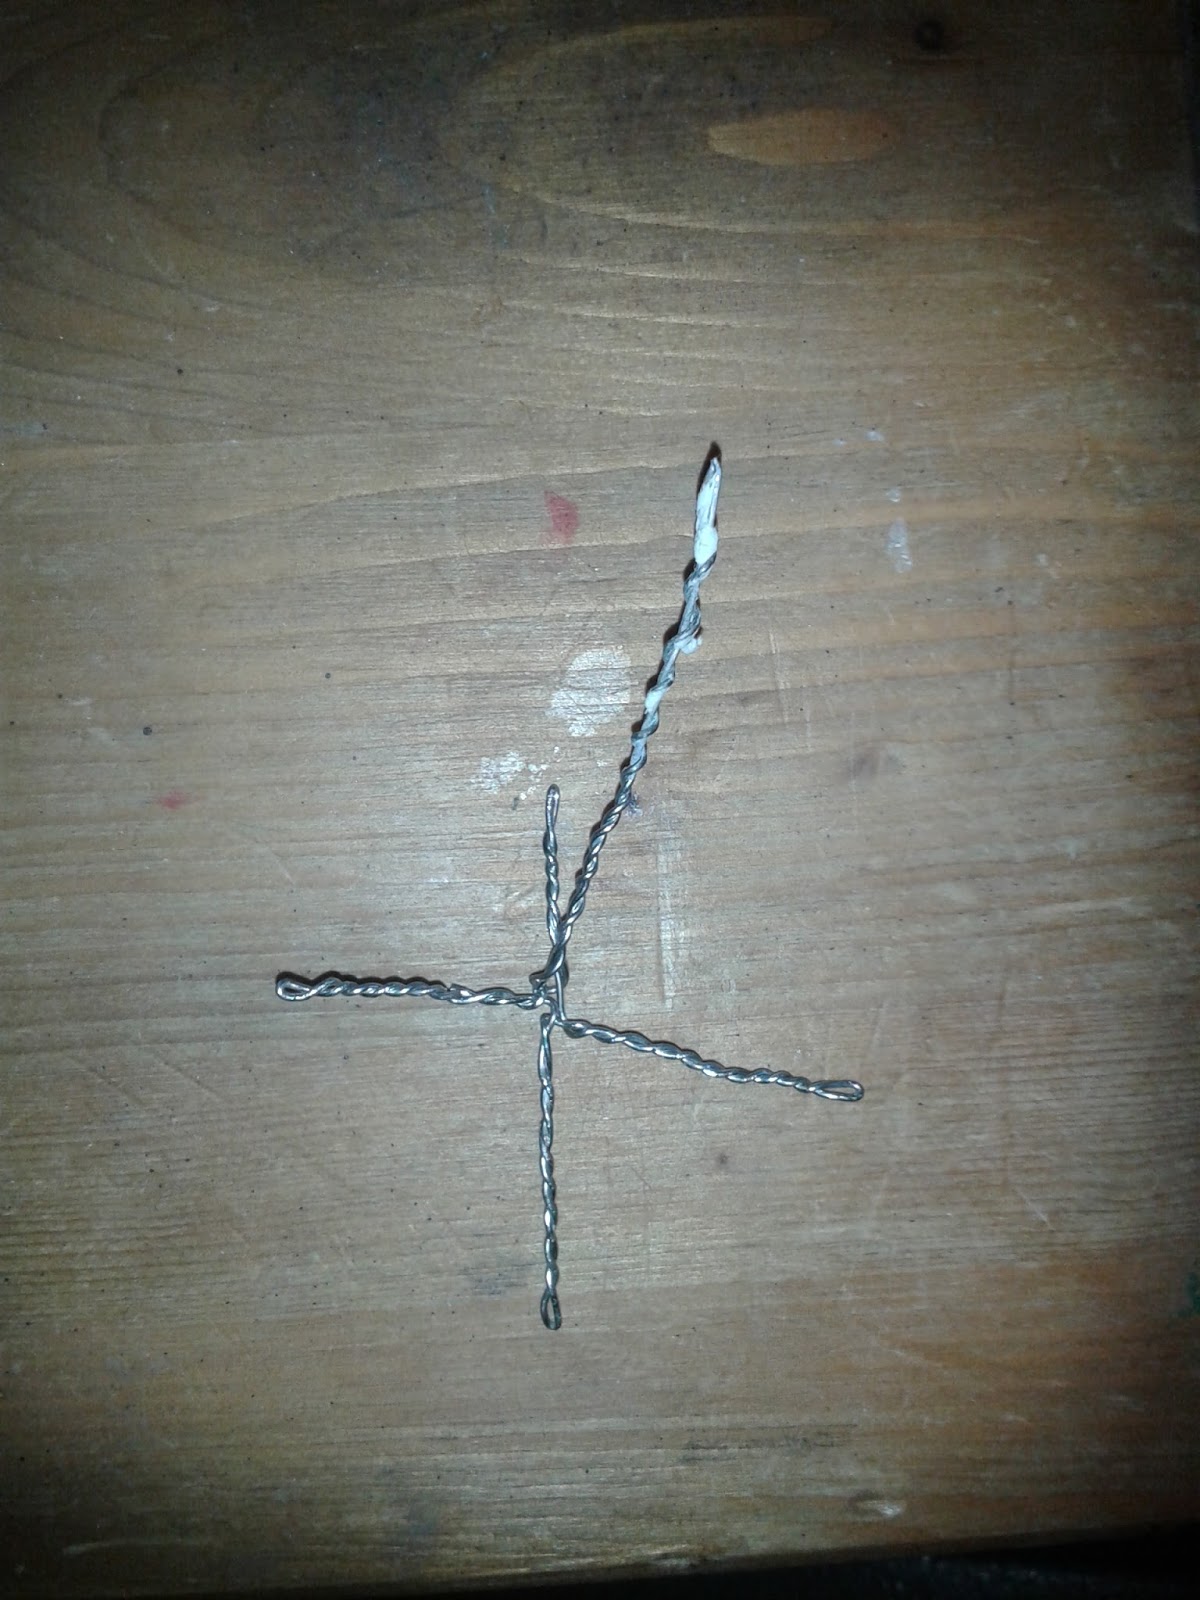
With the depth/ width you can make a cross. Use the outer points to draw an oval. With measuring tape you can see if it is close to the circumference of your head.
Cut it out of a piece of paper and see if it will fit.

If it fits: Good, go to the next step, if not; Keep cutting until it does fit.

Make the rim:

I used 2 layers of foam and some thin cardboard in the middle. Looking back, this cardboard might not be necessary.
Glue the cardboard to 1 layer of foam. Trace your head oval and draw another bigger oval around it.

Tip: Do the drawing on paper and trace that on foam. Drawing on foam will create dents and lines, so you want it to be as neat as possible.

Cut out the big oval (Leave the middle one. Now glue it to another sheet of foam and cut the outer line with a cm extra space. This extra bit of foam will be folded over the rim, making a cleaner edge (Watch the video).

Cut out the inner oval and see if it fits. If it doesn't fit:
To small: Make it bigger.
To big: No worries, you can glue an extra band (or more) of foam to the inside making it fit snuggly around your head.

Making the pattern.
-Think about the amount of parts you'd like. I've used 14 parts of which the front part is slightly bigger (and has 2 flaps)
-Measure how tall your want your hat to be.

Calculate the bottom part of the parts by retracting the size of the front piece from the circumference of your head.
F.e.: Your head is 52 cm, the front piece is going to be 6 (making flaps 2cm)
52-6 = 46 cm
Divide 46 by 13 (the amount of parts) = 3,54 cm (It's better to be slightly bigger so make it 3,6 cm; this way you're sure to cover the hole for your head.

Now a bit of a tricky part; the 3 parts of the back have a smaller bottom measurements than the ones on the side; I did this to have a nicer curve all around.; meaning the other parts need to be a tiny bit larger. So instead of 3,6 cm we'll make those 3,8 cm.
3,8cm x 10 = 38cm + 6 cm = 44cm.
52 cm - 44 cm = 8 cm / 3 = 2,7 cm

So our measurements are going to be:
1x Front part: 6 cm
2x Flaps: 2 cm
10x In between parts: 3,8 cm
3x back parts: 2,7 cm

The top part is going to be bigger. You can make that f.e. 5,5 cm
And let's say we want it to be 12 cm tall.
This gets you to a pattern that looks a bit like this:
These are examples of how a pattern could look; these are not on scale!
Tip: Always start with a line straight up or outwards. Never go inwards with your pattern, it will make it look goofy and may not fit your head anymore.

The front part (6cm) get's the same curved line as the back one.

Trim the edges. Because the hat is round and your parts are straight, it looks better to smooth this out.
I folded the top edge over, this isn't necessary but it creates a bit more sturdiness.

Glue your top part to the rim and glue a new oval in place. It's a bit difficult to calculate as there isn't a 100% accurate formula.
You can roughly measure the width/ depth and try to make a nice oval the same way you did with your head + you can measure the circumference.
Try it out with paper. If you think it's correct: Glue some foam to cardboard (you can do without, but I like it to be stronger), cut it out and glue it in place.

Time to add some detail.
There's a lot of things you can do from this point to make it to your liking. I only added some edge straps.
For the rivets I used adhesive pearls from a discount store.

When you're done you paint it all black. I've tried many kinds of paint to see if there's a different, but they all stick to it fine. Spray painting wasn't a favorite. It takes a while to get it covered; it looked more like it got burned or something.
Cheap acrylics are great.

After the black coat I used brown silky shine acrylics and used the dry brush technique to get that old worn leather look. The rivets are highlighted with some gold paint and some black silky shine acrylics are used for the edge straps.

Down below you can see the steps taken:

Front side 3 steps


Side 2 steps (I forgot to take the black painted picture)


And the 3 steps in perspective view
  

After the paint job I added eyelets and some laces.
Also I bought goggles from Ebay to finish it all off.

Finished hat front view
This has been my first hat, so there's room for improvement. In the end it turned out quite nicely (Too big, but nice)

Wednesday, March 26, 2014

Jigsaw Puzzle Plant Pot (2014)

Next to the garbage bin flower pots I also made a pot from a jigsaw puzzle.
I bought a puzzle mat to roll up your unfinished puzzle and with it was a free (but not a very pretty) jigsaw puzzle (1000 pieces). I decided to make something out of it and that became a flower pot.

I started with a circle of cardboard, to serve as a flat base. On that I put a plastic pot to use as a guidance to build around.
With some wood glue I glued every piece into place. Some pieces were trimmed to get 1 straight edge.

Side view of the finished pot, without color.
Top view of the finished pot, without color.
 Every 5 layers or so I would stop and put something heavy (a book) on it so it would flatten the surface and pressing the glue together.
Because I noticed the pile of pieces was running down very fast I decided to gain some extra height by glueing some of them vertically.

When all was done I spray painted the pot in a silver color.

Finished pot; side view
Finished pot; top view


The orange plastic pot isn't so nice, I'll change it with a black one.
Inside there is a small plastic container to prevent leaking when watering the plant.


Note: This was a very good puzzle for this type of project. Because all pieces had 2 holes and 2 pins aligned to each other. So no irregularities like 4 holes or  2 pins at associated edges.

Sunday, November 24, 2013

Wobble Head Hannah Hart (2013)

One of the things I wanted to try once in my life to make is a Wobble head, or head knocker or head wobbler.

Final product on my crowded shelf.
I didn't really know of what or who to make one off. But I follow some people on Youtube and decided to make one in honor of Hannah Hart.
Hannah Hart is a Youtube celebrity famous for her comedy sketch "My Drunk Kitchen", which is basically her, drinking and trying to cook.
But that's not all she is. She's also a great comedian, motivational speaker and a supporter of food banks across the country (America).

I started by getting a picture to work with:
Hannah Hart with tin foil hat in My Drunk Chicken.

This one was taken from her My Drunk Chicken episode which is one of my favorites.
From this I made a sketch.
A Sketch drawn with pencil.
Wobble heads are never 100% accurate, they're meant to be more of a caricature of someone. Also I didn't want to get messed up with too many hair, therefor I drawn her with a beanie; a much worn item in her older videos.

To create a 3D version of the drawing I made a simple frame.
Ping Pong ball head with a cardboard/ iron wire frame.

It's bent Iron wire glued to a cardboard figurine.
The head is made from a ping pong ball where a piece of PVC is glued inside. This makes the head lighter once you shape it with clay.

I then used some painting tape to shape the basics of the face.

Packed head with painting tape.

As clay I wanted to try paper clay. This type of clay is lighter than normal clay. But you need to make it yourself. I used a recipe of wood dust mixed with wood clay and wallpaper paste. This isn't the ideal mixture, for me it's still in an experimental fase.
None the less I managed to shape the face:

1st try at her face.

I added the beanie and hair:

Side of her face where her bang comes from underneath her beanie.

Then it was time to get it painted. I gave it a white primer and used acrylics to paint the rest.

Not the best face even made.
As you might see the face is far from perfect. I never made that much faces in my life, so you can imagine the difficulty making it accurate.
At that time I didn't know what to do with it, so it got on the pile of unfinished projects.

With FruitCorso I learned a bit more about the shapes of a face. I noticed one of the mistakes of the facial structure were the eye sockets. They need to be deeper.
When I had some spare time I picked up the project and tried to reshape the face.

A very awry and eerie picture; Sorry Hannah!


Fixed face.

When I finally was happy with the way it looked now, I gave it a new layer of primer.

The face with a white base.
I also started to work at the body.

Rough paper clay attempt.
With pencil I tried to fill in some detail of her face.

Because the paper clay wasn't ideal to work with I used normal air dried clay to do details on the body like the chicken, hand and feet. The body didn't have to be really light, so it wasn't a problem to do this.

There was still a problem with the face, I redid some details one more time and gave it a final paint job.
Then it was time to connect the head. I used thin iron wire which I spun around a tooth pick. The spring is glued into the PVC and in a hole in the neck and measures about 1,5 cm.

Finished Front side
Finished back side

Finished 3/4 view.
 I mounted the wobble head onto an empty candy container which I painted black. I also added Hannah's name and a famous quote of her "No one is wired wrong, because there is no wrong or right in the way we are."

Some references:
The Chicken is from the episode, but unlike the video I placed it on her hand instead of on her beer.
The beer is in her other hand.
The Tin foil cap is also from that same episode.
The glasses are a slight reference to friends. But Hannah does own a pair of pink glasses.
The shirt contains the logo of her show.
On the back is the logo of herself.
Her pants are taken from the "Oh, Internet" video
And the towel in her back pocket is taken from "My Hangover Kitchen: Breakfast Burrito"

I made an animated gif of the video I made to show it wobbles just fine.
Wobble, wobble, wobble.

Is I one day make another wobble head I shall cast it in resin, this way it's less fragile and easier to make hollow/ lighter.

Sunday, September 29, 2013

Coin Flower; Florum Denarios (2013)

A friend of mine had organised a house warming party.
It's normal to bring gifts and she told us she'd really liked to have a "Money tree" in their yard. She mentioned this for fun, she actually wanted money or gift certificates to use for their garden or for tools.

A "Money tree" isn't really original. I decided I liked a money plant way better and I started to design a basic plant using coins.

The Coin Flower, or Florum Denarios in Latin.
I ended up with a 6 leafed flower, that holds exactly 1 Euro in cash. (6x 5c + 1x 20c in the middle and 2x20c+ 1x10c at the back. 20 flowers were put on an iron wire and stuck in some dirt filled PVC pipes.

How to:
  • Make a 6 leafed template and use it to cut the amount of flowers you like.
  • Paint them in a copper color. I painted the backside black.
  • Use hotglue to glue the coins on. Don't glue them to tight together.
  • Cut the leafs up to the middle coin to create separate petals.
  • Bent the leafs; 3 up and curl the edges
  • Glue the 3 bend leafs to the middle coin.
  • Add some stamen; 3 golden iron wire pieces with a gold bead glued on top. (You can also do this last, making it easier to connect the flower to the stem)
  • Glue the base coins at the other side. 
  • Bent a thick iron wire and bent a loop at the end. (The stem; use several lengths)
  • Glue the flower to the loop 
  • Take 6 pieces of PVC pipe and tape them together.
  • Secure these in a flower pot and fill them with dirt.
  • Put the flowers in the PVC pipes.


The flower in 4 steps

To finish it all I made a little information sheet and glued it on the pot.

Mine said: "Coin Flower (Florum Denarios). The Coin Flower is a very rare type of plant. It's a slow growing vegetation which grows the best with as less sunlight as possible. When the plant is placed in direct sunlight, there's a big change the plant will loose its leafs"

I played a bit with the fact that if you keep this plant in sight it's most likely someone will steal the flowers.