Showing posts with label Drawings. Show all posts

Sunday, September 25, 2016

FruitCorso: De Tijd Vliegt (Time Flies) (2016)

Another year, another FruitCorso.
This year we went a bit smaller than usual. The cart has the name "Time Flies", it's in celebration of the 50th anniversary of the club.
We did a literal interpretation of "Time Flies" by having a pocket watch carried by butterflies and swallows.

The cart during the FruitCorso Parade.
I was asked to help out with the design of the birds. I had to do a drawing of one in several positions with the wing width of 1,5 meter.
I made 3 flying designs; 1 flying, 1 braking and one with its wings half folded (that last one was skipped). Next to that I also designed a sitting one.

Top view of my sketch.

From this I made a metal design together with the welder. Me and the designer decided it was easiest to do the wings out of carton with a simple metal framing inside; this makes the wing look thinner and the separate feathers are easier made.

Metal frame with a Styrofoam head.
The metal frame with a cardboard wing glued to it.
During the metal work I was trying to make 11 swallow heads. Birds aren't easy so there's a bit of difference between them. (There's one that looks more like a pigeon)
At home I used clay to improve the faces of the birds.
In all honesty I was skeptical about the size of the birds; they were the same size as the butterflies, but looked even smaller since their wings have less surface. None the less, no discussion, they were approved by the designer. The sitting ones were allowed to become a bit bigger.

After the metal work I could attach the wings. This took a lot of work so I was lucky there were some folks to help me out.
When that was done the feet/legs could be welded and attached. It was a bit unclear if we had to wait until the chain was done (making them fit better), but we got a go to just give them feet.
Now the paper team could finally add paper to them, to which we could add plaster (takes the metal framing edges away and makes sure the neck runs smoothly to it's back/chest)

"Birds falling down the rooftops..."
The bird finished with plaster.

 After all the "paperwork" it was time to draw on them. I had miscalculated how much time would go into this. There were a lot...a lot of feathers! One of the designers stepped in and helped me out with this.
When everything was drawn and painted, people could finally start gluing on all the different kinds of seeds.

Painted bird.
The product design was also part of my "job", I made a 2:1 sketch to make it clear to other which and how the products were going to be glues on. (I made a copy which I colored and gave it a caption what it all meant). Unfortunately, time was our enemy, so we had to change the design and switch some products. All in all I'm quite happy how things turned out.
The sketch of the different types of seeds/fruits/vegetables that had to go on the bird.
Left = back, right = stomach. In the end we did some changes due to the time consuming design.


My bird, finished with the seed part.

The backside still needs a lot of work. Therefor it will go home with me.

It barely fitted in the car.
When everything was done, every seeds was glued on, every tomato was in place, every bird/ butterfly was welded where they needed to go it was finally time to go outside!

The cart during the FruitCorso Parade.

The end result of my bird.
 And here some Bonus pictures from the build.

How the clock looked during the 50th anniversary party.
Backside of the cart when it was finished and almost ready to go outside.


The framing of one of the butterflies


Pretty red butterfly.
Side of the watch.


This is my favorite bird! It's a really chubby one.

Saturday, June 20, 2015

Birdhouse "Owl" (2015)

When my niece went to live together with her boyfriend I asked her if she liked a specific kind of gift, useful for her new house.
She told me she liked it if I could make something for the garden, something for the birds. Something like a birdhouse. One type of birds she really liked were owls.

Finished piece siting in a tree

I went to Google and looked for inspiration for birdhouses in combination with owls and ended up with this picture:

Picture I found

My niece kinda liked that idea, but she liked it a little more "realistic". I started to sketch a bit with some owl pictures as reference which led to this:
First drawing

This picture was approved by my niece, with the mention I would alter some things about it because I wasn't fully pleased with it.
I scanned the picture to the computer and used Photoshop to do some minor adjustments. The owl got a little big fatter, his feet got bigger and he became smaller (or his head became bigger in proportion, depending how you look at it.)
Altered drawing

This image was used to become a template which I could transfer to wood.
On a different piece of paper I drew the template for the wings and tail and I changed the shape of his claws, making him a bit more friendly.
On a copy I drew the shape of the house part, on this I could take measurements (size/ angles) easily.
The bird was sawn and put together using glue and nails. At the right side I left a piece out, which later became a little hatch. This way, if it would be inhabited, you can check and clean inside.

Wooden version
Side view of the bare wooden version


When the sawing part was done it was time to do the detailed paint job.
I've never done birds before, making it quite tricky.  I tried to do every feather separately, using a variation of colors. It might not be a perfect owl mimic, but I do think it looks great.

Top view during the painting.
Left wing has some guidelines, right wing is done.
Bottom view, the wings still have to be done.


Eyes
Something new I did were the eyes. In the past I've tried to make some fake eyes using polyester resin globes, but their quite tricky to cast.
On the internet I found a little diy shop that sold cabochon glass pieces. These are perfect for this purpose. They measure about 3 cm (the biggest they got). The eyes were printed and glued to the back. This sounds easier than it sounds though, it took several tries. Best result I got was to print on photo paper and use a fair amount of acrylic varnish as a glue. You can move the picture for a small amount of time, before pressing it into a piece of crafts foam.
I am a bit bummed I don't have my Photosmart printer anymore, because the black isn't perfectly black the way I like it.
After the varnish has dried, use black paint for the edges and end off with at least 2 coats of varnish to prevent any leakage of water getting to your paper.

However, if you don't got a good printer, you can always paint it from the back; start with the pupil and the outer edge, then work with the colors of the eye. Benefits of this technique is that it won't discolor that much due to sunlight + you won't have to worry too much about the rain. (It just takes a more steady hand an time to make)

Owl sitting on a pole.
Owl hanging on a nail.


Side view of the finished piece.
Close up of the face, showing the vivid eyes and detail paint work.


Sunday, May 24, 2015

Steampunk Camera Bag (2015)

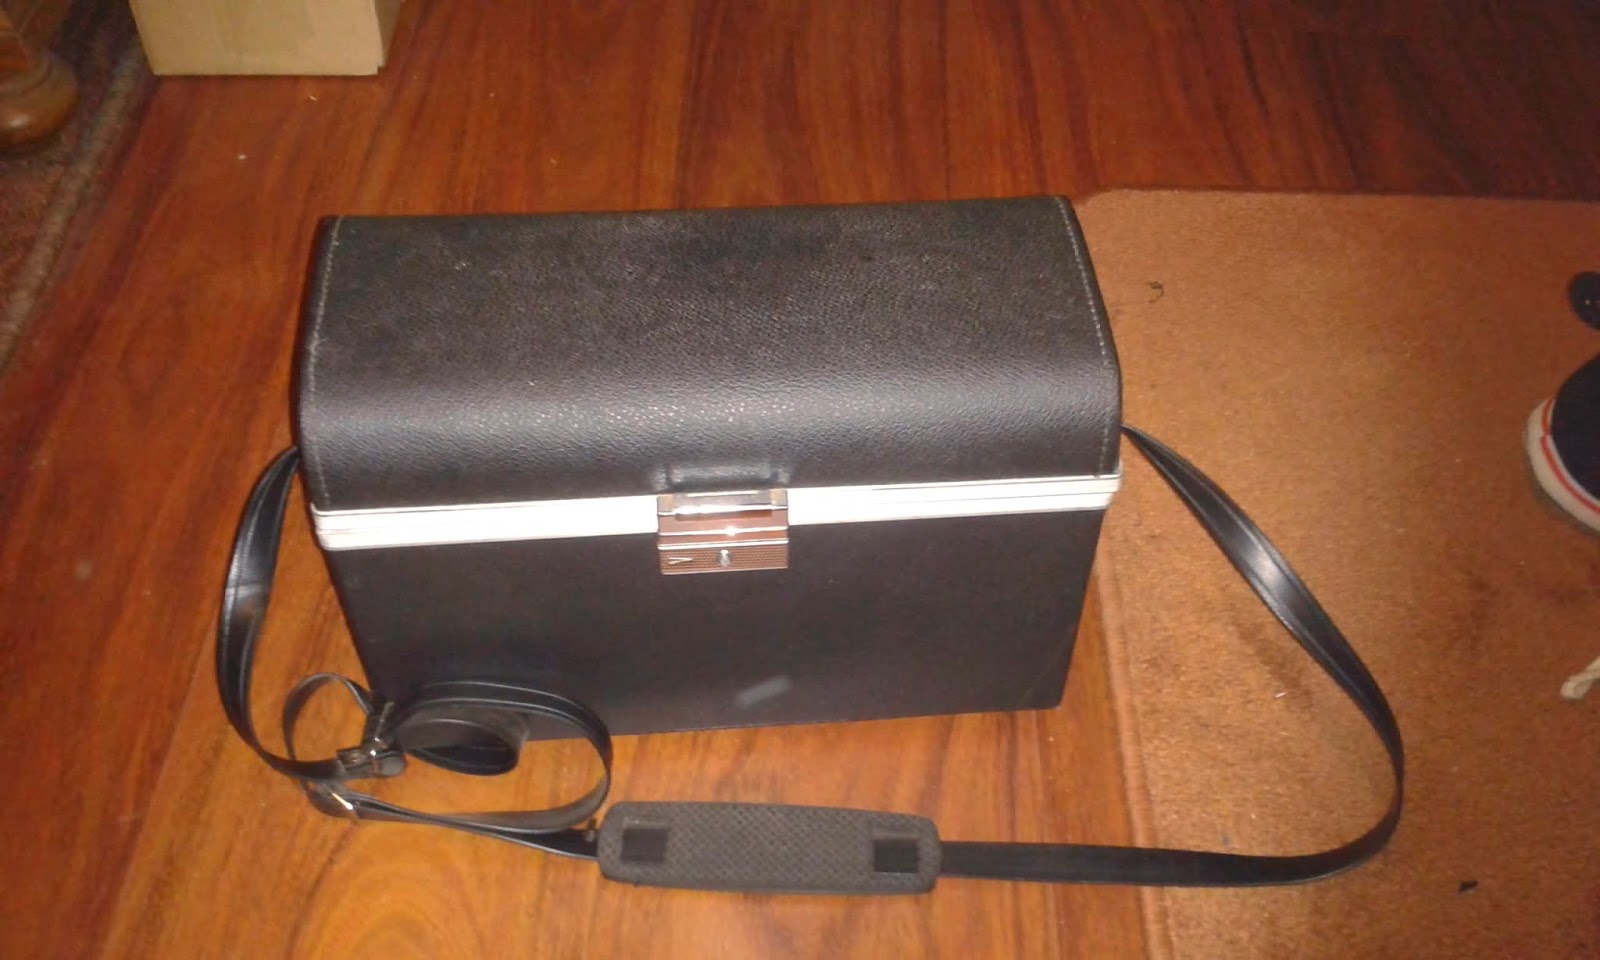
This year is my 10th anniversary at the Elf Fantasy Fair. Every year I bring a camera for pictures (except the first year). Since last year I got a bigger and better camera, but it needs it's personal bag. Due to the fact a normal camera bag is just ruining a cosplay outfit I've decided to go and look for a bag to "punk".

Finished bag

After some browsing at a 2nd hand site for small chests and camera bags, I was able to find an actual camera bag/ trunk (€10 + €6,75 forwarding charges) shaped just right and already patted with red velours to keep my camera safe.
How it all began.

First step was to paint the whole thing brown, because that's one of the most used Steampunk colors.


Front side brown
Right side brown

Then it was time to add some detail. I'd like to have some corner pieces. For inspiration I went online to search to all kinds of Steampunk details and (Victorian) patterns.
In the end I created a basic shape. This I draw in Paint to get a template to sketch on.


Some sketches

Some more sketches

When I had a bunch of sketches I chose the best idea and created another template using Rhinoceros 3D to draw in and AutoCAD for scaling it to size and get it printed.

It was too big at first and it was too curly to be able to be cut from foam. At the right image the down part is simplified.

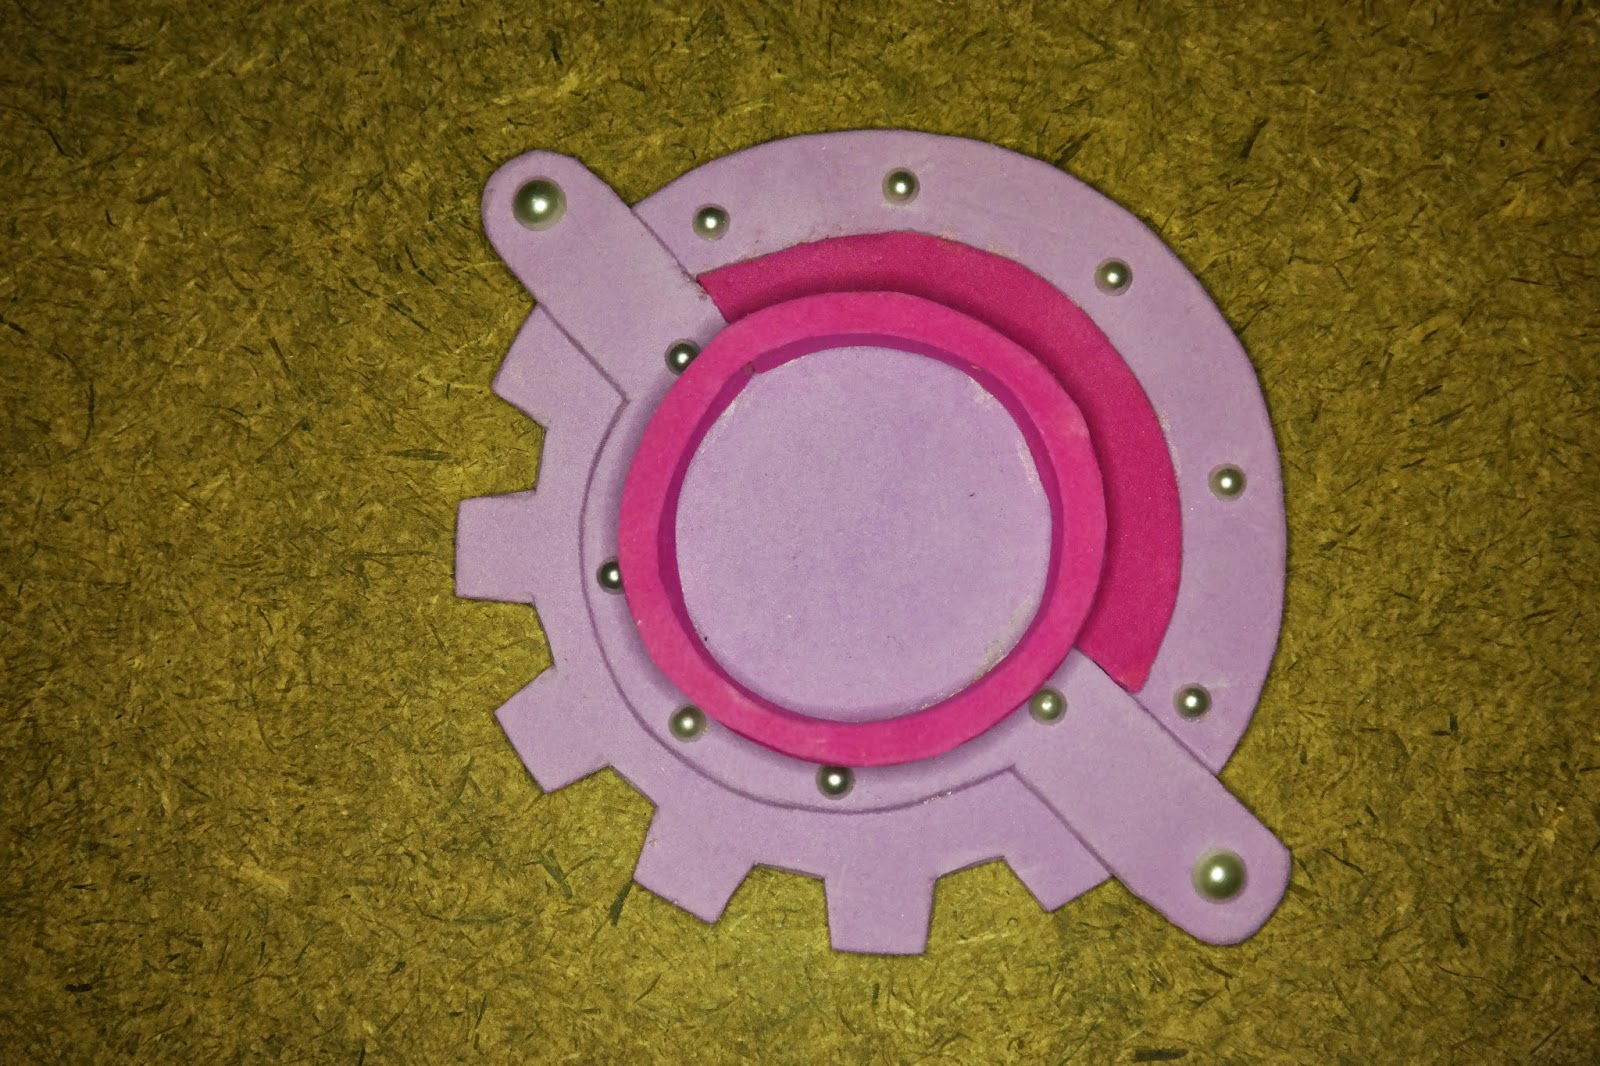
The pieces of the template were cut and transferred to crafts foam.
For the rivets I've used to adhesive pearls.

Pink foam. I added a 20 cent coin for size.
When the gluing was done it was time to paint it black. If you like to save time you can use black foam. Normally it's cheaper to get a standard foam package, but it holds all kinds of color. If you only wish to use black you'll be paying 2x-3x as much for the same amount.
The downside of different colors is the wear. Due to rubbing the top layer of paint will fade and the pink will shine through. (Bring a black marker with you so you can recolor the edges when they rub off, this isn't that noticeable as the bright pink)

And now it's black.
After the black it's time for some gold. I like the old look so I brush it on using the dry brush techniques I've mentioned in previous projects.
In the circles I glued in my cats. I've used their pictures and used Photoshop to give them a Steampunk look. Some self adhesive cabochons are attached to the pictures.

Too much light, but you get the point.
Sad note: During this project the right cat has passed away.
Now I had corner pieces, but that wasn't enough.
Because it's a camera bag I'd like to do something with a lens. I used Rhinoceros 3D to help me out with a 3D picture of my drawing (And making a template for the aperture.)

3D idea. It was a bit flat though. Later on I added an extra rim.

This was also converted to a template and cut out of foam.

Again with the pink.
Finished top side.

Side view, with the extra rims in contrast to the 3D model.
Finished part.


Next to these I also added a name plate (Willow Redwood, 1886) and a small plate underneath the lens. (Photomachina Systematis Type NX300). The sides were also a bit empty so I made some sort of grid using a punching tool.

I also made a (fake) grip on the top. It's also made from foam. Because it's glued on, you can't pull the trunk up with it. Decorative only.

And that's it, nice cool Steampunk styled camera bag.


End result.


Sunday, June 22, 2014

Flee Market Signs (2014)

Since a couple of years my aunt helps organizing a flee market that benefits the church.
They have some old road signs and my aunt thought it was a nice idea to get new ones and asked for my help to come up with ideas and make them.

We had some conversations about it and these 2 were our final ideas:


I knew it would take a lot of work to paint these on boards of about 1 meter, so I asked if she was able to help to color them. My aunt knew a lady who can do a good job at painting, so she took one of them to her.

First I drew them using pencil, than I traced my lines with a permanent marker. Later on, after the paintings were finished I redid the tracing and gave it a layer of varnish to protect it from the rain.

My drawing of some flee market things.

The finished sign, which the artist lady finished.


The other drawing.

My finished piece.
The colors aren't that clear due to the sun being on the wrong side of the sign.