Showing posts with label Wood. Show all posts

Monday, April 24, 2017

Serving Tray (2017)

For my housewarming party I made some home made industrial looking serving trays.

Serving well as a serving tray.

These are made from plywood and metal rings from (industrial size) filler/ paint bins.

Plywood circle
Metal ring


There's not that much to tell for a tutorial. You trace a closed ring on a piece of plywood. You cut these out slightly bigger (5-8 mm depending on the size of the ring).
Sand the edges to make it fit into the rings.

Then divide the board into 3 smaller boards and use a ruler and awl to scratch that line.
With a pair of scissors or another sharp object you  can make some wear and tear cuts on the surface of the board.
Then add a layer of stain. When that layer is dry, sand the middle.
Add a new layer of stain and add black tones around the edges.

I made a stamp out from craft foam and added these after the staining was done.
I choose the name "One of a kind" because they are hand made, which makes them similar but unique.

Add at least 2 layers of varnish and close the ring around it.
Different rings mean different sizes. 

I'm planning to make these into small side tables. I will give an update when I've made those.

Sidenote; Make sure the rings are cleaned; use a good cleaning detergent and a scouring sponge. Especially when it's going to be used in combination with food.

Sunday, October 2, 2016

Writing Desk Make-Over (2016)


This is a project that's already been finished some time ago. I just needed some last things to paint, which I just did.
Due to an error to my camera memory card I've pretty much lost all the before and process pictures. I found a similar looking writing desk online, which makes it able to show what it looked like before I even started.


On a second hand website I had found this writing desk. The people selling it didn't ask for much. They wanted a plant for it in return. For a project that's a very nice price. :)


It was an oak laminated writing desk, nothing fancy.
Before painting the desk was sanded and the knobs were removed.
From aliexpress I ordered some new knobs, which might have been a that bit bigger than they turned out to be. But it looks kinda nice.

After the sanding 2 layers of brown primer were applied. When the last coat was dry I added some hair straightener fluid on the edges so the white coat wouldn't attach to the layer underneath.
Then several coats of white were added. The paint I had was quite crappy (Hema) so it took me like 4-5 layers of paint (Take Histor or something similar; this takes about 2 coats. It might cost a bit more but it takes less paint.)

When all that was dry I scratched the edges lightly with a putty knife. On the places the hair straightener liquid was added the white paint would scratch off, leaving the rest of the paint intact.
And last but not least the new knobs were added


Sunday, September 25, 2016

Wedding Gift Heart Sign (2016)

A co-worker of mine was getting married. As we are all creative people at work I couldn't give a non creative gift.
At a wedding of a friend I once saw a board with keys and note cards on them.
So I thought of a sign with a lot of hearts on which people who had attended the wedding could leave a name or a note would also be a nice gift.

After the wedding this was the result. Unfortunately not everyone decided to write something down.
The hearts were painted with chalkboard paint. The sign has 49 small and 1 big heart.
I painted their names on the sign and added the date to the big heart.


I made some spare ones in case people mess up their message.

The hearts are held in place with  turned over duct tape.


I had some better pictures. But I accidentally deleted some files before they were transferred to my computer.

Sunday, April 3, 2016

Memo Board (2016)

Next to the walls, my shelves, nightstand and such, I also needed something new on my door.
There used to be a plastic memo board with a small pinboard and whiteboard. Although functional, it didn't really look great.

Finished piece

There wasn't really a plan for this build, I took some measurements about the width and how big I wanted the shelves and the middle section to be (I wanted it as big as regular business cards and other passes/cards.
It's made from left-over pieces of wood (plywood/ MDF), a reused pin board and old curtain hooks. Basically the whole thing is made from actual scrap.

Grey primer

When the woodwork was done I gave it a grey primer. On the left side I wanted a pin board, I used the cardboard one with the self adhesive velours from the previous memo board (I cut it to fit) and on the right side there would be a chalk board.

I had some left over brown from previous projects, this was going to be the base color. I liked to give it that "antique" look, but not the sanded kind (where you sand the edges, making the base color show through, with the risk of sanding too much and revealing the primer or wood)
I read somewhere you can use vaseline on the edges to prevent the top coating from sticking to the surface. I didn't have any laying around, I did however, have some hair straightener spray I never use. I took out the nozzle bit and applied some of the liquid with a paintbrush to the edges and a small dot/ strike every here and there.
When the white coat was applied and dry, I could easily scrape off the parts where I'd applied the hair straightener, with my nails (strong tape will also work).

To finish this project I painted the chalk board with special chalk board paint.
And I added some old curtain hooks to hang things on.


Finished and filled with things to show its functionality.
Finished piece perspective view.

Nightstand "Craquelé" test (2016)

Back in the days I've seen some things done with a special "craquelé" paint. This cracks the top layer of paint, revealing the color beneath it through the cracks.
While I redid my room (the green is still there, no worries, but now there's also a soft yellow wall and a brick-wall-wallpaper-wall.)
Anyway, I wanted to give the craquelé an attempt on an old nightstand I had.

Finished piece. Looks better in reality than on the picture I must say.
The original nightstand was unpainted pine-wood. I gave it an orange primer; the one I've also used for the shelves I made not that long ago, which also are this kind of craquelé by now. The craquelé worked a bit better on those, but I lack pictures of them (Maybe I'll make them later).

Back to topic: The nightstand was sanded, orange primer as was added. After that the "base" color was added; this is the color that shines through the cracks.
Then a special liquid was applied (It reminds me of diluted glue the kids use at primary school). The lady from the store said to let it dry and quickly apply the top color.

Orange primer
Original color

Brown under coat
Mint top coat, green sided and red rims.


This went fine with the drawer as this is a small surface, but the door was a different story.
I've redone it twice or so. What I did last time is to let the "liquid" dry really well (it doesn't matter if you leave it for a few days, so don't hurry). Then apply the color coating in a thick layer; don't keep rubbing the surface with your brush as it will mess things up with the "liquid" coating.
Also keep the surface flat. Due to the thick layer of paint it will run down if you keep things up right.

To give things an even older look I've sanded some of the corners a tiny bit. The orange wasn't such a great choice for this, blue might be nicer.

Another thing: The cracks have a certain way of cracking; the nicest cracks are the ones where this "liquid" coat is applied in the same stroking direction as the final coat. (drawer is done this way, the top is done the other way; liquid on the top was applied top to bottom and the top color is done left to right.)

Top coating, as you can see the cracks aren't nicely "open" due to the different stroking directions.


Fun to show: The door, cleaned with a scouring sponge.
Which actually is a nice effect also (ideal for faux-copper).

Harry Potter "The Monster Book of Monsters" Replica (2015)

At first this started as a prank for a "Sinterklaas surprise", but it turned out better than I hoped, so I kept it myself.

A "Surprise" is a crafted way to wrap a gift. Most often you make something typical of the person who will get it. This person is a fan of a.o. Harry Potter and therefor I wanted to make a "Monsters Book of Monsters" from the movie. Instead of making it out of cardboard I wanted to make one of wood/ clay and fake fur.

My "Book of Monsters"

The Actual book from the movies


A comparison between the real replica and mine.
 I started off by making a wooden book, which is basically just a box with a lid (and a curved backside). These you can by in certain stores as well (Xenos)
Because it had to be made to hold a specific gift I didn't take measurements from the actual book.

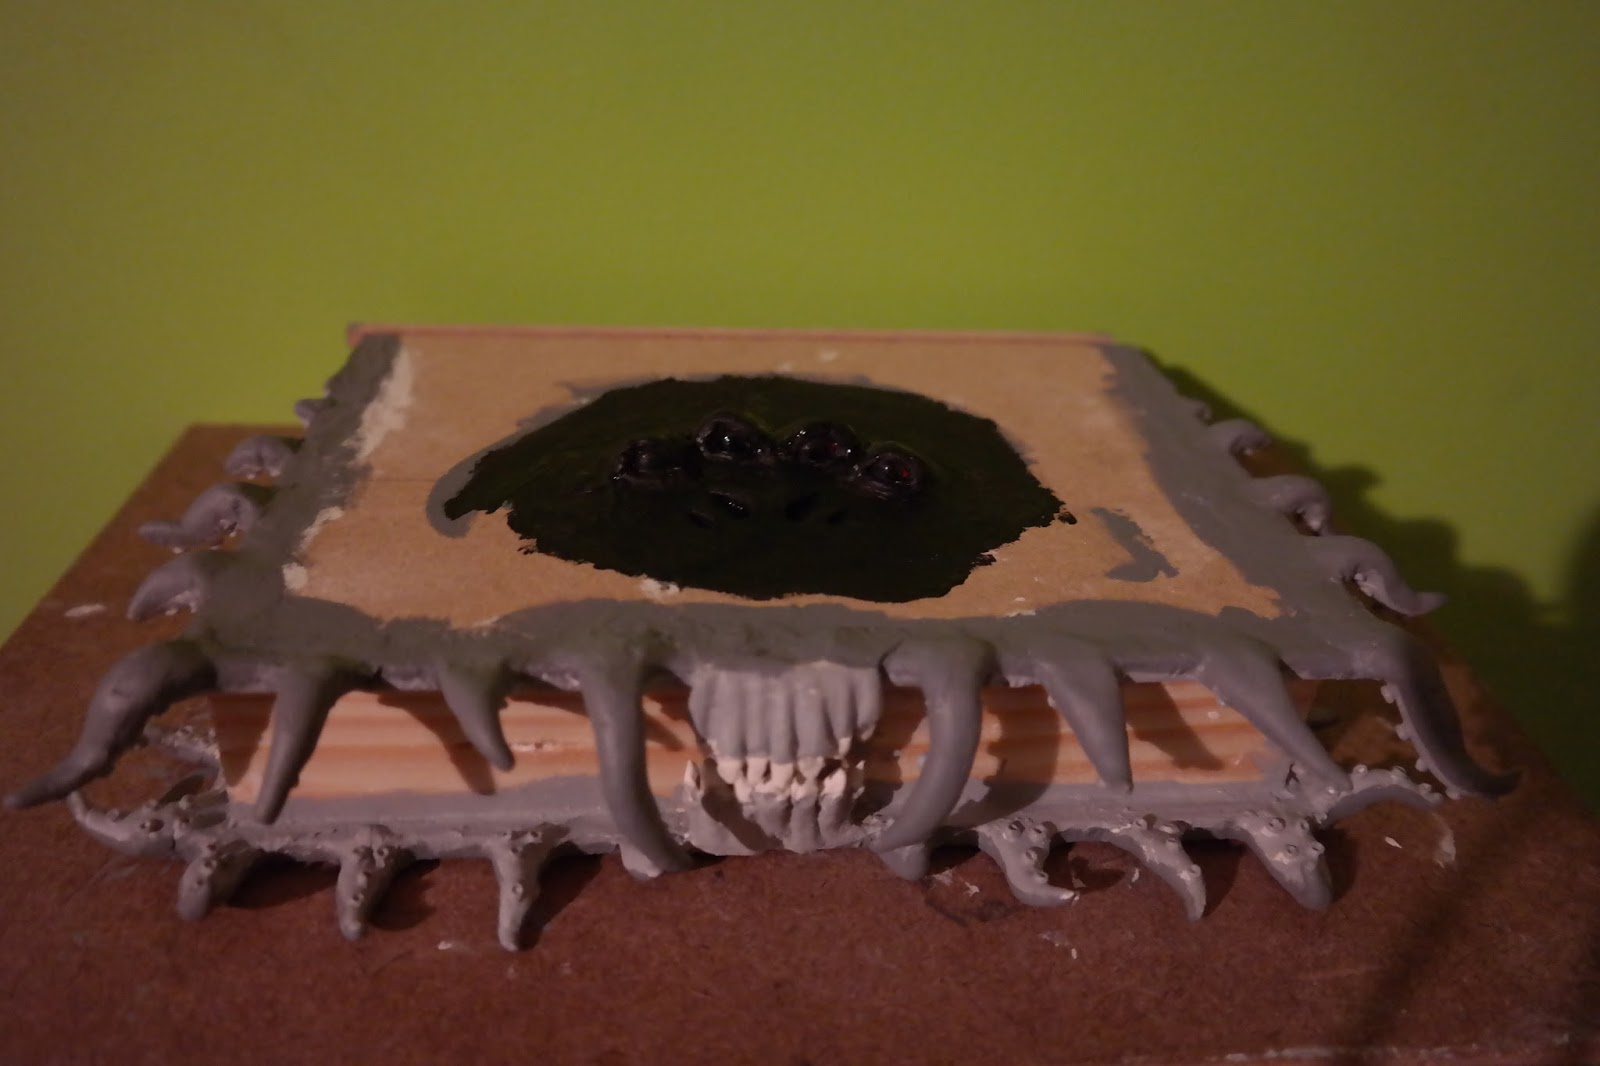
With clay I've added the tentacles, eyes, teeth etc.
This is basic air drying clay. I do recommend to wet the wooden surface when you attach the tentacles. Even better is to first rub a layer of clay firmly to the (wet) wood and add the tentacles to that. If this fails, you can always use some wood glue to attach them once dry.


Opened book, unpainted
 Since the tentacles resemble those of octopuses, they need suction cups. Make a tiny ball (1 mm and press the backside of a needle in the center; repeat this step numerous of times).
These are attached with wood glue.

For the eyes I've used some stuffed animal eyes I had once bought 2nd hand.

Some Base colors

The book had some detailed carved letters. I can't carve that well out of wood, luckily clay is a lot easier. I've used a toothpick for this; the "ugly" edges can be sanded when the clay is dry.

Carved clay

Once all the clay parts are in place, the paint job starts. First of are some base colors. When those are applied the actual colors can be put on.
Mostly I used the "dry brushed" one and on the tentacles I've also splattered a bit diluted paint.
The letters are painted gold first then I added dark grey by holding the brush flat, this way it doesn't get into the letters (I might redo the gold bits, because I'm not 100% satisfied with them as they do not show that well).
After the paint I added a semi gloss clear varnish. If you like your book to look more slimey/wet I suggest you use glossy varnish.

Top view with the base coatings

When the varnish part is done it's time to add the fur. This is a tricky task. But I cut a piece that was big enough and glued it with hot glue on my book. At the places where the letters and eyes were I cut a hole. You can play around with the fur a bit to readjust it and it's okay if you cut to much; you can always put tiny patched back and comb the hairs a bit so it's not that noticeable.


I wanted to say: Then you're done, but there's one more part: Adding the pages.
I've looked on google for pictures and found one. Using Paint I copied and mirrored it, so I could align them in the middle (where the teeth are, so you can hardly see the seam).


And now you're actually done. You can always make the inside look nice with some velours/ velvet fabric or just paint it. 


 (If you might wonder what my friend got instead: I made a last minute Tardis from cardboard, so no harm is done. Lucky for my I've already had some experience making Tardisses ;))

Sunday, December 13, 2015

Herbs & Spices Rack (2015)

A coworker of mine had her kitchen renewed. She asked me if I was able to build her some kind of spice rack.
Finished rack

Before I started I needed to know how the rack should look like. She send me a picture with the notes of the measurements and the request to close the back and do something nice with a router, making it look more classy.
Example picture
I started to make a 3D drawing with the info I had gotten and immediately got to the problem the measurements weren't right. It needed to be deeper; else the herb containers wouldn't fit and it needed to be higher or the lowest ones wouldn't be able to go in and out. The new measurements weren't a problem.
Then I suddenly got the request if I could make a coffee filter holder connected to the rack. I did some drawing of that, but it looked very odd. And on second thought she herself didn't think it was such a good idea to hang those underneath the herbs and spiced (due to spicy coffee)
Instead I came up with the idea to make a holder for the paper kitchen towels.
First drafts of the rack
Rack with kitchen towel holder
(left with "cut off" side, right with a more classy curve)

With everything approved I was able to start.
Everything was made from MDF except the square rods which were pine. 


Everything put together (not glued or screwed yet)

At first she wanted it to be grey and later she decided white would be better. I was happy I hadn't already put everything in a grey primer...
After several coats of white it was finished.

Side view of the finished rack

Dog Bed Evy (2015)

This year we got a puppy; it's a French Bulldog mix and a real goofy dog.
She slept in a dog bench to be house-trained. Once she was house-trained she needed a new place to sleep. Therefor I build her a dog bed with 2 drawers to storage a bunch of her toys.

3D drawing
The main idea was to make a bed that looked like an apple crate; which is a quite common item around here due to all the orchards.
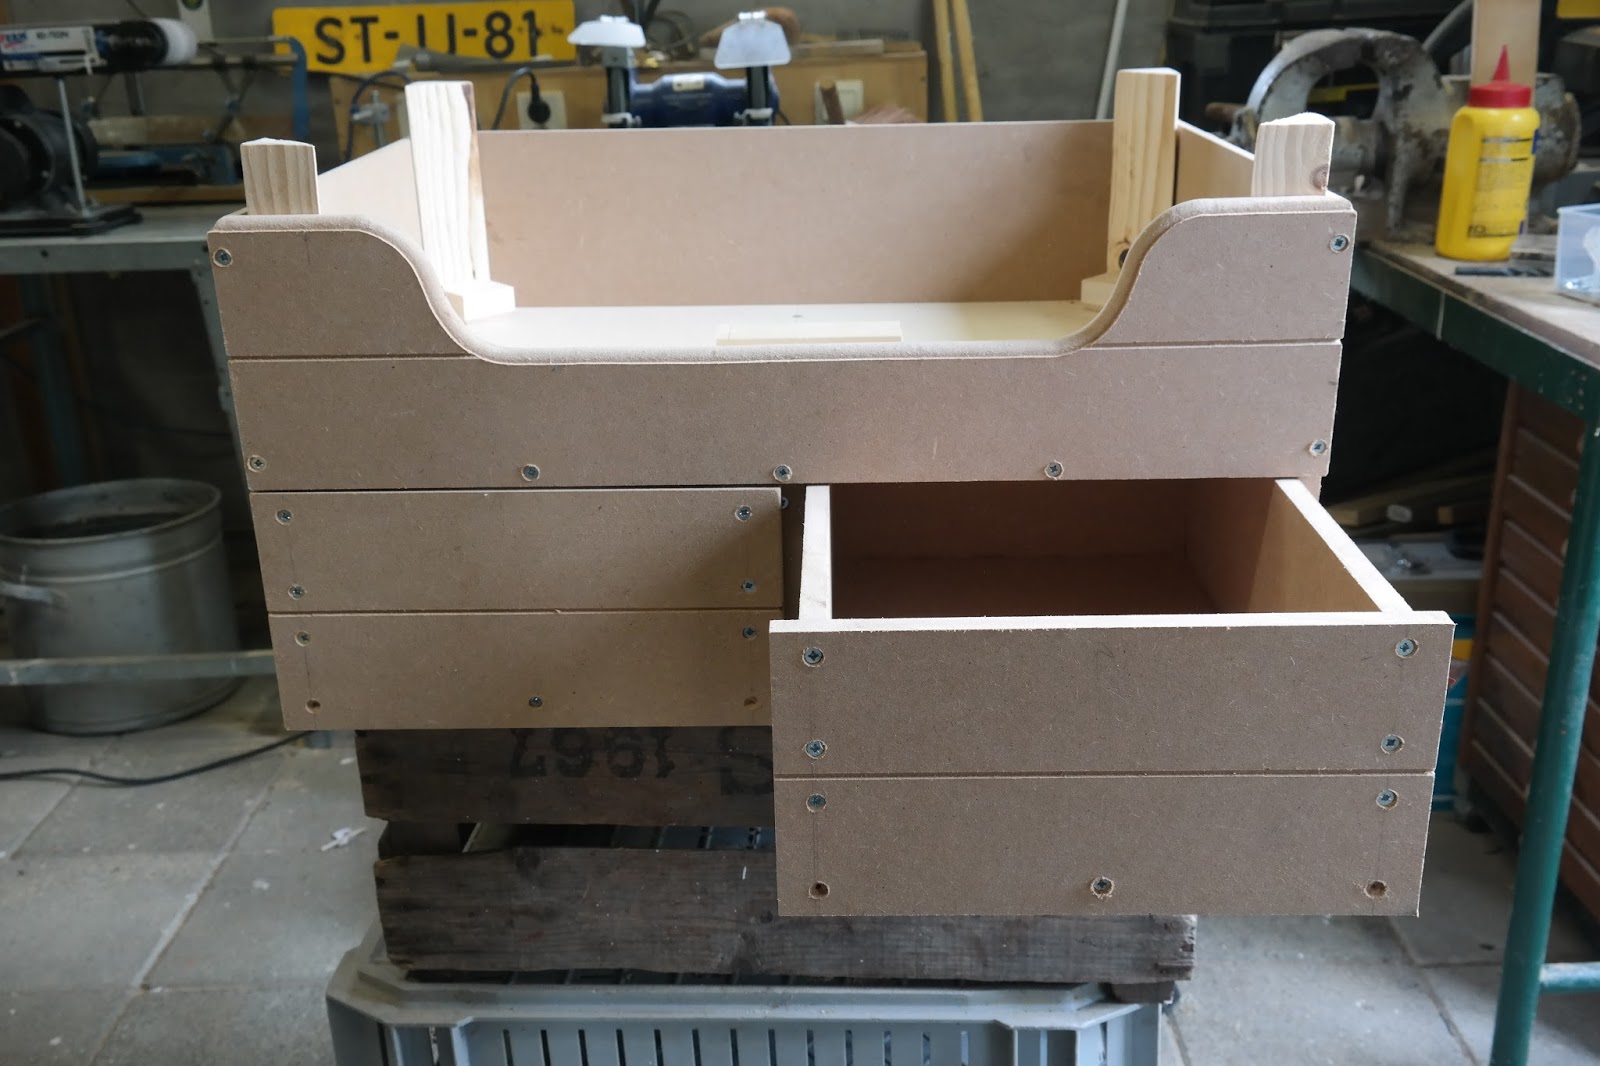
I wanted to make it out of left over pallet wood, but I wasn't able to get my hands on some spare parts. So I decided to make my own version out of MDF.

With a router I grinded some horizontal lines to imitate separate planks.
The parts together made a box; with triangular pieces it turned from a box into a crate.

Closed
One drawer open

Both drawers open

When the woodwork was finished, some fake screw holes were made while the actual screw holes were filled up and sanded smooth.

1 layer of primer and the filled screw holes

After a nice layer of grey primer it was time to give it the actual color; which was also grey.
The top edge was painted white.
When everything was an even color I used my wood imitation techniques to paint a simple pine grain all around.

Wood grain backside
Finished front side with open drawers


I was in doubt to add some stamps, but it would probably look to chaotic, so I left it the way it was.
I added some rope to the drawers; this way our dog is able to open them herself. (Now we have to learn her to close them too)

End result with our little doggie.