A coworker of mine had her kitchen renewed. She asked me if I was able to build her some kind of spice rack.
Finished rack
Before I started I needed to know how the rack should look like. She send me a picture with the notes of the measurements and the request to close the back and do something nice with a router, making it look more classy.
Example picture
I started to make a 3D drawing with the info I had gotten and immediately got to the problem the measurements weren't right. It needed to be deeper; else the herb containers wouldn't fit and it needed to be higher or the lowest ones wouldn't be able to go in and out. The new measurements weren't a problem. Then I suddenly got the request if I could make a coffee filter holder connected to the rack. I did some drawing of that, but it looked very odd. And on second thought she herself didn't think it was such a good idea to hang those underneath the herbs and spiced (due to spicy coffee) Instead I came up with the idea to make a holder for the paper kitchen towels.
First drafts of the rack
Rack with kitchen towel holder (left with "cut off" side, right with a more classy curve)
With everything approved I was able to start. Everything was made from MDF except the square rods which were pine.
Everything put together (not glued or screwed yet)
At first she wanted it to be grey and later she decided white would be better. I was happy I hadn't already put everything in a grey primer... After several coats of white it was finished.
This year we got a puppy; it's a French Bulldog mix and a real goofy dog.
She slept in a dog bench to be house-trained. Once she was house-trained she needed a new place to sleep. Therefor I build her a dog bed with 2 drawers to storage a bunch of her toys.
3D drawing
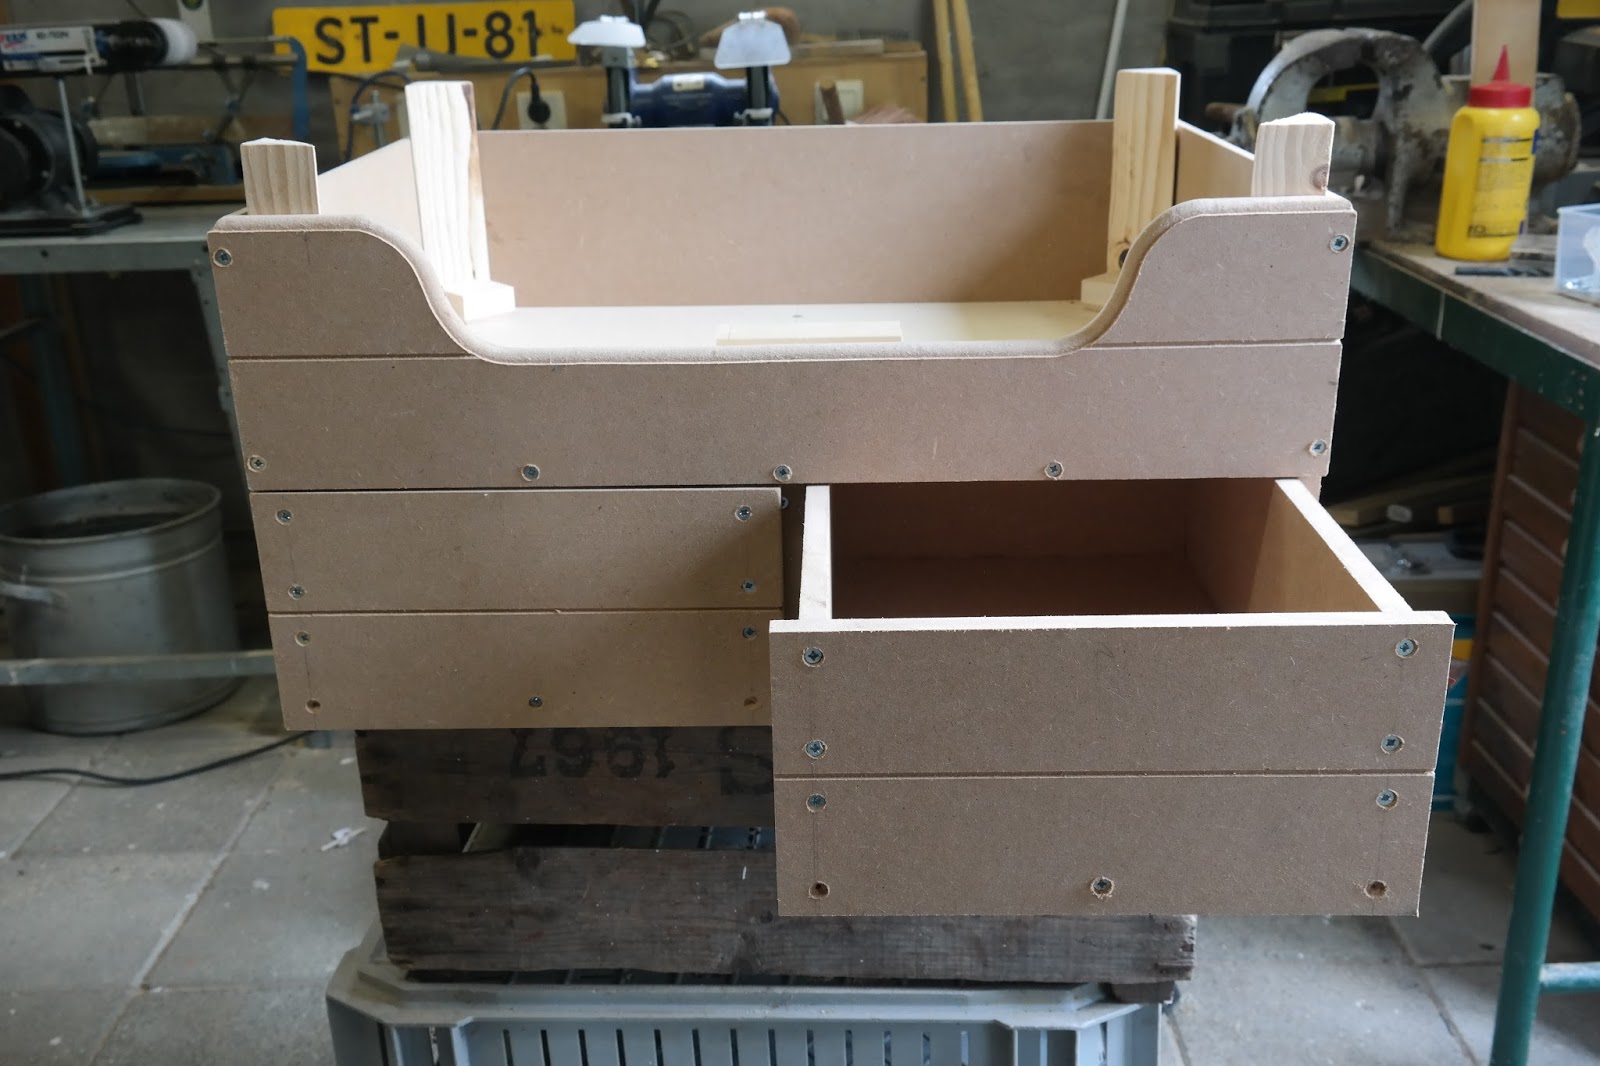
The main idea was to make a bed that looked like an apple crate; which is a quite common item around here due to all the orchards. I wanted to make it out of left over pallet wood, but I wasn't able to get my hands on some spare parts. So I decided to make my own version out of MDF.
With a router I grinded some horizontal lines to imitate separate planks. The parts together made a box; with triangular pieces it turned from a box into a crate.
Closed
One drawer open
Both drawers open
When the woodwork was finished, some fake screw holes were made while the actual screw holes were filled up and sanded smooth.
1 layer of primer and the filled screw holes
After a nice layer of grey primer it was time to give it the actual color; which was also grey. The top edge was painted white. When everything was an even color I used my wood imitation techniques to paint a simple pine grain all around.
Wood grain backside
Finished front side with open drawers
I was in doubt to add some stamps, but it would probably look to chaotic, so I left it the way it was. I added some rope to the drawers; this way our dog is able to open them herself. (Now we have to learn her to close them too)
This year is my 10th anniversary at the Elf Fantasy Fair. Every year I bring a camera for pictures (except the first year). Since last year I got a bigger and better camera, but it needs it's personal bag. Due to the fact a normal camera bag is just ruining a cosplay outfit I've decided to go and look for a bag to "punk".
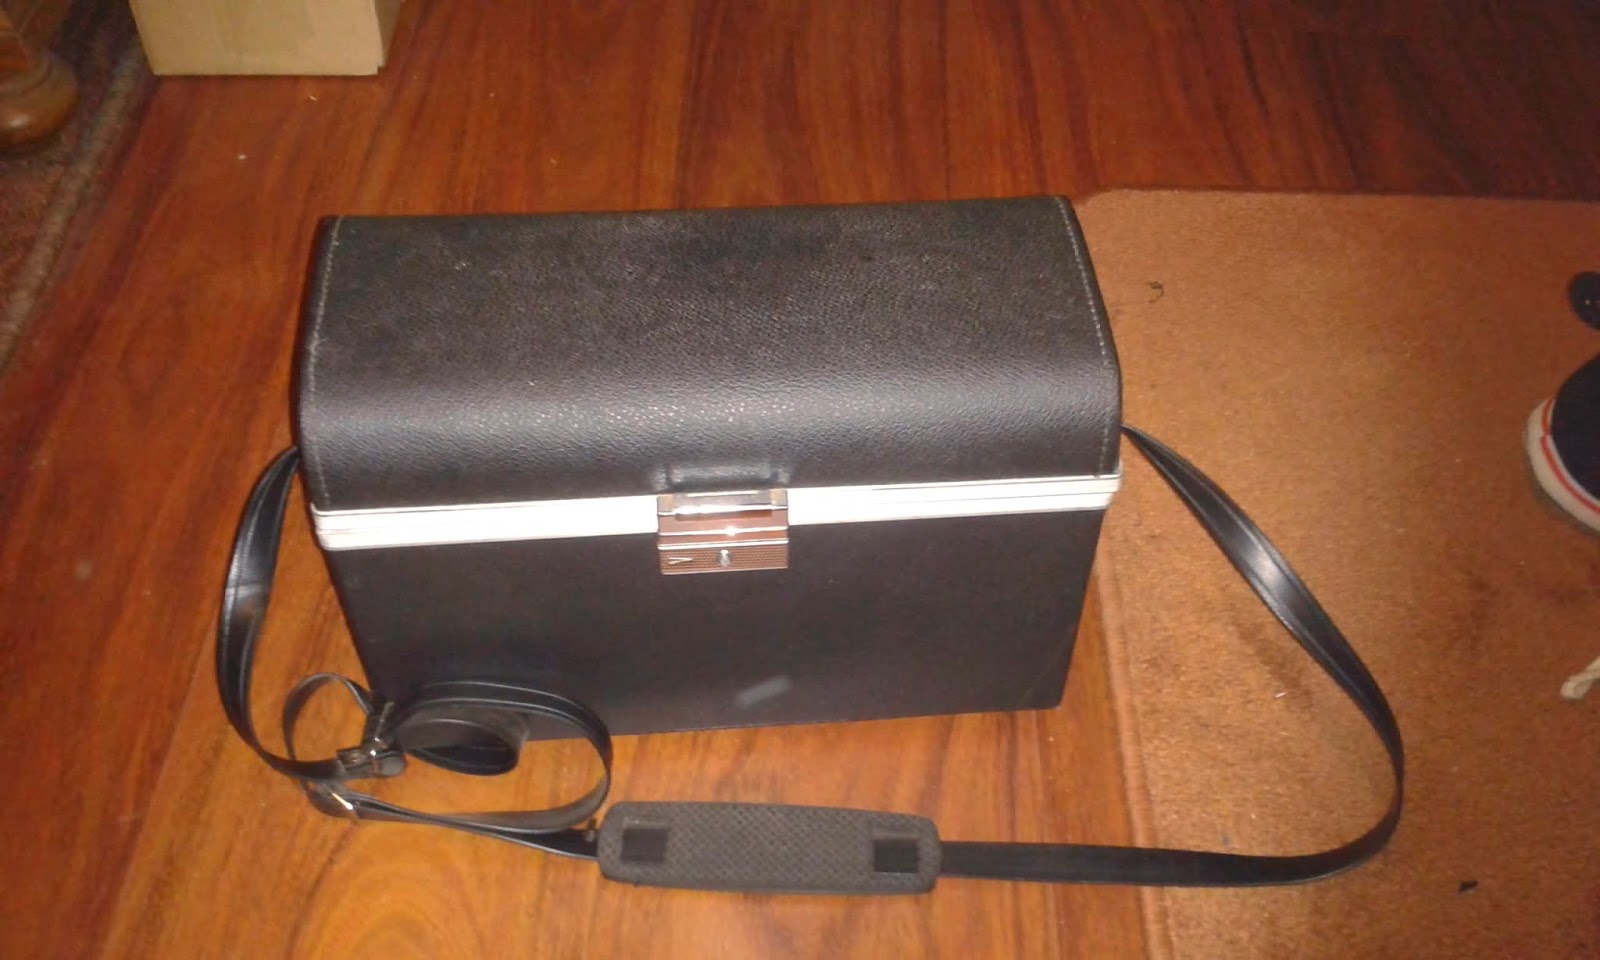
Finished bag
After some browsing at a 2nd hand site for small chests and camera bags, I was able to find an actual camera bag/ trunk (€10 + €6,75 forwarding charges) shaped just right and already patted with red velours to keep my camera safe.
How it all began.
First step was to paint the whole thing brown, because that's one of the most used Steampunk colors.
Front side brown
Right side brown
Then it was time to add some detail. I'd like to have some corner pieces. For inspiration I went online to search to all kinds of Steampunk details and (Victorian) patterns.
In the end I created a basic shape. This I draw in Paint to get a template to sketch on.
Some sketches
Some more sketches
When I had a bunch of sketches I chose the best idea and created another template using Rhinoceros 3D to draw in and AutoCAD for scaling it to size and get it printed.
It was too big at first and it was too curly to be able to be cut from foam. At the right image the down part is simplified.
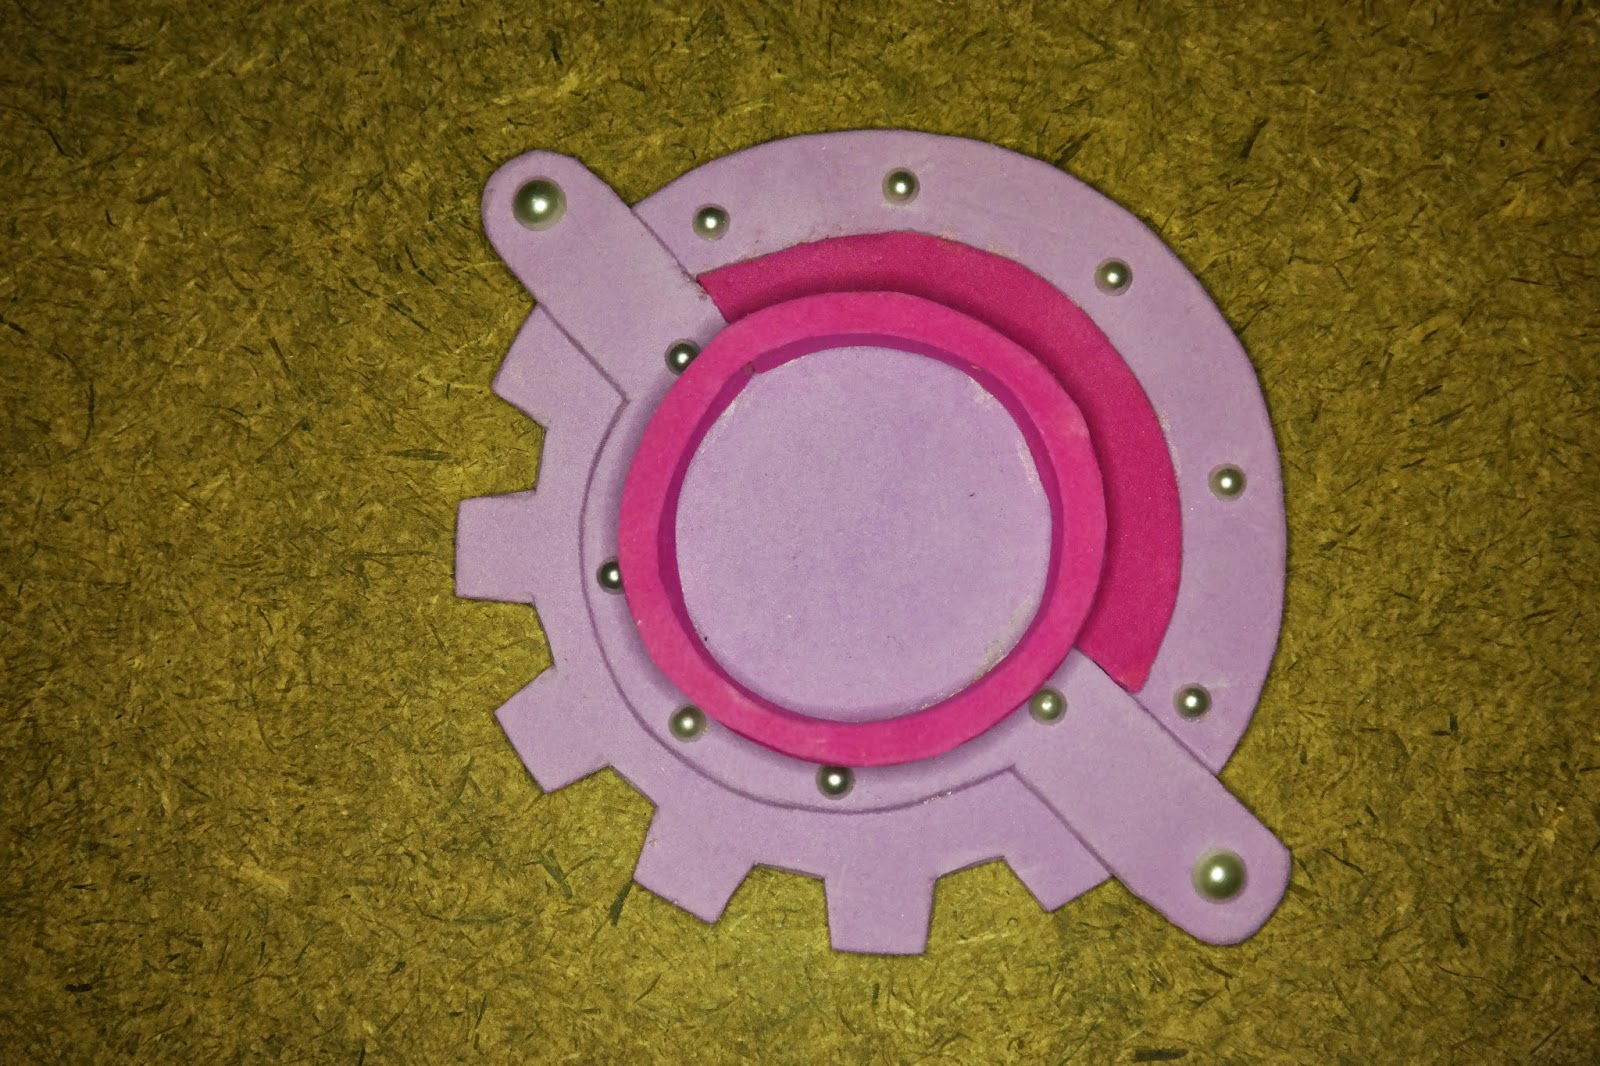
The pieces of the template were cut and transferred to crafts foam.
For the rivets I've used to adhesive pearls.
Pink foam. I added a 20 cent coin for size.
When the gluing was done it was time to paint it black. If you like to save time you can use black foam. Normally it's cheaper to get a standard foam package, but it holds all kinds of color. If you only wish to use black you'll be paying 2x-3x as much for the same amount.
The downside of different colors is the wear. Due to rubbing the top layer of paint will fade and the pink will shine through. (Bring a black marker with you so you can recolor the edges when they rub off, this isn't that noticeable as the bright pink)
And now it's black.
After the black it's time for some gold. I like the old look so I brush it on using the dry brush techniques I've mentioned in previous projects.
In the circles I glued in my cats. I've used their pictures and used Photoshop to give them a Steampunk look. Some self adhesive cabochons are attached to the pictures.
Too much light, but you get the point.
Sad note: During this project the right cat has passed away.
Now I had corner pieces, but that wasn't enough.
Because it's a camera bag I'd like to do something with a lens. I used Rhinoceros 3D to help me out with a 3D picture of my drawing (And making a template for the aperture.)
3D idea. It was a bit flat though. Later on I added an extra rim.
This was also converted to a template and cut out of foam.
Again with the pink.
Finished top side.
Side view, with the extra rims in contrast to the 3D model.
Finished part.
Next to these I also added a name plate (Willow Redwood, 1886) and a small plate underneath the lens. (Photomachina Systematis Type NX300). The sides were also a bit empty so I made some sort of grid using a punching tool.
I also made a (fake) grip on the top. It's also made from foam. Because it's glued on, you can't pull the trunk up with it. Decorative only.
And that's it, nice cool Steampunk styled camera bag.
To complete the previous Dr. Who Tardis post; I've created a mirror frame for my Whovian Friend.
The Finished Tardis mirror with the doors open.
I don't have all the pictures from beginning to end. Mainly because it's the same process as the Tardis from my previous post
To start I first made a 3D model. This way I knew what the measurements were. I did change the depth of the frame during the proces (making it a bit more deeper)
3D model of the frame; I used some basic coloring to give myself a quick view of what it would look like. (No lights, fancy backgrounds, accurate coloring etc.)
From that model I made all the wooden pieces and glued them together.
When you've got all the pieces you can start sanding. I used plywood which edges always need a bit extra care. I used wood filler to make it smooth. 2 Layers of grey primer were added and finished off with 2 layers of "Tardis-blue"
After the 1st layer of primer and some sanding.
The backside was left open, so the mirror could be glued in place. In the building plan I left a small rim (0,5 cm) so the mirror would stay in place no matter what.
3D model of the backside; note the rim for the mirror + the extra space in the top part to fit in the electronics.
Backside with the mirror in place.
The mirror is glued with contact glue and the rim with wood glue. To this the back plate was attached.
Just as the miniature Tardis I added some light to this one. The top part is hollow making some space to put in the wires, LED's and batteries.
Small lid with the battery pack.
Front view with the lights on.
Some hinges were added and details were glued on and there you have it: A Tardis mirror frame.
Finished Tardis
Side view of the Tardis
This frame is able to stand on its own. I added some anti slip feet to it. If you like to hang it you can either drill 2 holes in the hollow back part or use 2 hook with eyelets.
My niece got 2 Guinea Pigs, she asked me to make a little house for them.
She'd like to have something that resembles some sort of farm house with little shutters. The house had to be grey with a red roof. The shutters needed to be red, green and white with the pattern found at old farm houses. And she wanted a name sign.
Finished house
Before I started I made a 3D drawing of something I thought looked farm like, compared to online pictures. I also tried different shapes of the roof and colors.
3 types of farm houses. I choose the front one to make. I wasn't fond of the chimney, therefor I skipped to make it.
From the drawing I took the measurements necessary to make the house. When I was drawing the doorway on the wood, it seemed too small. I looked online and it had to be at least 10 cm wide; the arc on the 3D drawing had to go. I used the sawn out door to glue it on the side. I could have made that one a bit smaller thought. But it's alright.
For this project I used Plywood (6 mm for the walls, but 9-12 mm might be better). This is a safe kind of wood as far as I know and it will not absorb liquids like pee as MDF would (And break down because of it)
It's size is: 30 cm width, 20 cm deep. The rood overlays in the front which is about 1,5 cm. From the ground to the highest point is about 21 cm.
Starting with a pile of wooden parts.
With a pair of scissors I carved some lines in the roofing, so it would look like tiles.
When the paint job was done I covered it with 2 layers of acrylic varnish. If you do not varnish it there's a chance your Guinea Pig has a red or grey tongue later on because the acrylic paint will eventually stain if you soak it.
House without the name sign.
Perspective view
Perspective view
Left Side
Right Side
Because Guinea Pigs are rodents, one of them decided to use his house as a teeth sharpener. When it becomes to bad, I will fix it up again.
IMPORTANT: You're working for animals, make sure you sand all the edges, use paint that holds no lead or any other nasty chemicals and no nails, screws or any other sharp bits!
Like every year I join our building team in constructing a float for the FruitCorso parade.
Floats that are decorated with fruits, vegetables and seeds.
A Photoshop drawing I made from a print screen.
This year we got the design of "De Bockereyders" (The Billy-goat riders) which is an old folklore about a couple of bandits who would steal and rob from the rich people and divide it underneath the poor. At least this was the story we choose, since there are all kinds of different stories about them. Some say they are devil worshippers and they plundered churches and old farm houses while other stories tell the same kind of tale as the witch trials in Salem where innocent people were condemned for crimes they didn't do.
Anyway; as said: Our Bockenreyders are the good guys that acted like the Robin Hoods of their ages.
This year we had 2 designers; The one from last year + another builder. They came up with the idea to build 3 male goats, a captain with a mask and a hooded bandit
The model made by our designer.
We used the bars we already had from last year instead of welding a new low one. In the end this paid off quite well as it sorta disappeared inside the design.
I didn't do any welding this year. Instead I and 2 others were put into the Styrofoam cell to sculpt 2 human heads, 3 goat heads, 12 hooves, 4 hands, 2 boots, 4 horns (one set was made from iron) and 2 feet. This was quite a big task and we got some help from outside. A man who has helped several clubs with their sculptures. He showed up and in no time he finished a face and also did the jaw part of our Captain. Next to that he showed us what we had to change about the goat heads to really make them look like goats (we had a cow, aligator and some sort of rabbit).
From these rough shapes we had to make our finished faces/ heads.
I got the responsibility this year to do the final sculpting on the faces/ heads with plaster.
First I made pictures of what we had, then I used Photoshop to try to draw a better shaped face on it and tried to rebuild the face using plaster.
Before
After
After
Before
As you can see the end result is quite a change. But in a good way I might say.
One thing we did different this year were the eyes.
Normally we sculpt the eyes at the same time as the face and decorate them with seeds just like everything else, but I asked if I was allowed to make "real" eyes. I made a prototype from transparent globes, painted from the inside out. The designers really liked what I had created and got to make a set of brown and red eyes.
A transparant ball you can buy at most craft shops.
Finished brown eyes; 14 cm
Finished red eyes; 16 cm
Because we don't want everyone to be making these globes, I don't do an online step by step tutorial. But if you're really interested and want to make them f.e. Halloween, just send me a message and I'll send some of the pictures I made during the process.
They were covered up with plastic foil to prevent damage during the build. In the end that was cut off and the eyes were nice and shiney.
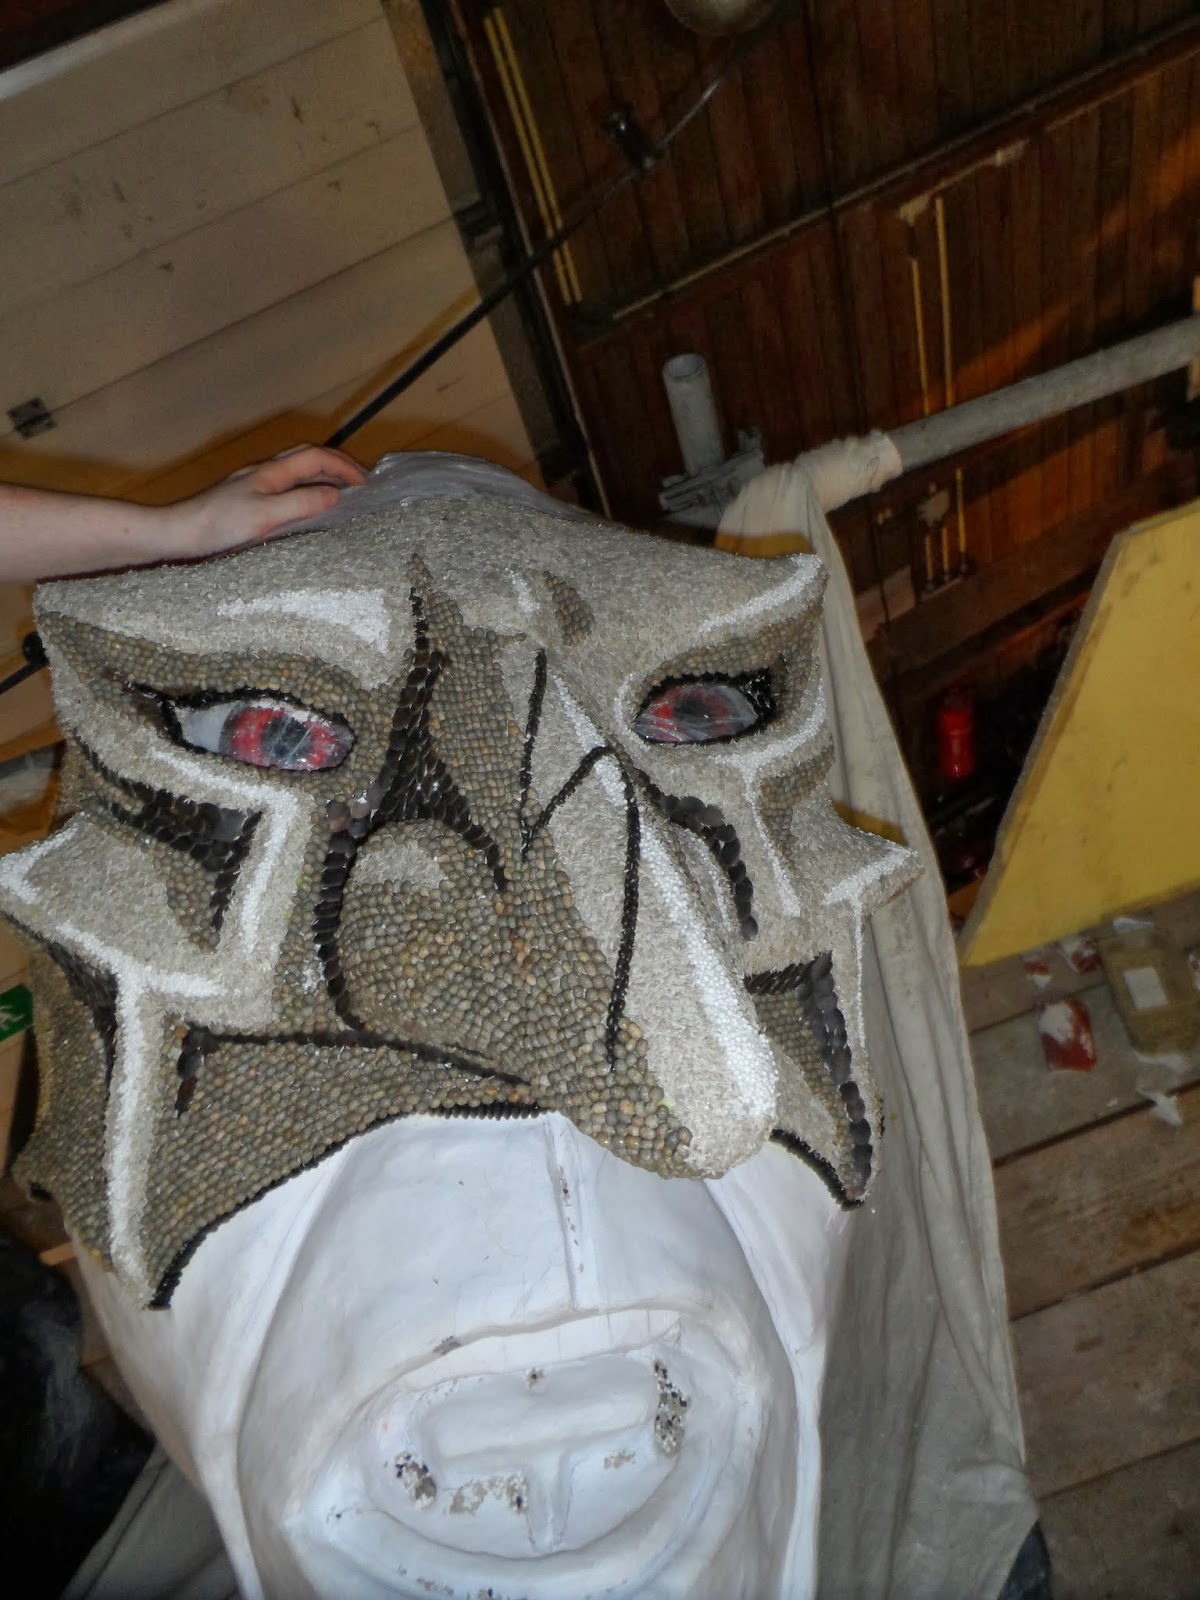
My next task was to design the faces. I worked together with the designers on this. And in the end they had enough faith in me to let me do the whole captains face the way I'd like to do it.
And so I did:
Painting
Adding seeds
Finishing the mask using: Blue Lupines,
Black pumpkin seeds, Black beans, Grass seeds,
Melon seeds and Tapioca.
Painted the lower half and added shade with brown beans.
Because our float was too big to fit through the door and viaducts, there had to be some break points inserted which could be lifted and lowered using hydraulics.
Raising the Captain's torso
Raising the front part of the billy goat.
Final part of the raising.
The end position of the billy goat and captain.
A close up of the loot.
A very nice picture of the other face that was made.
A print screen of a video that was shot during the parade.
Out float became 8th in ranking by the Jury judgement. But! We got 2nd of the public voting!
Here is a video of the whole parade of the FruitCorso 2013